
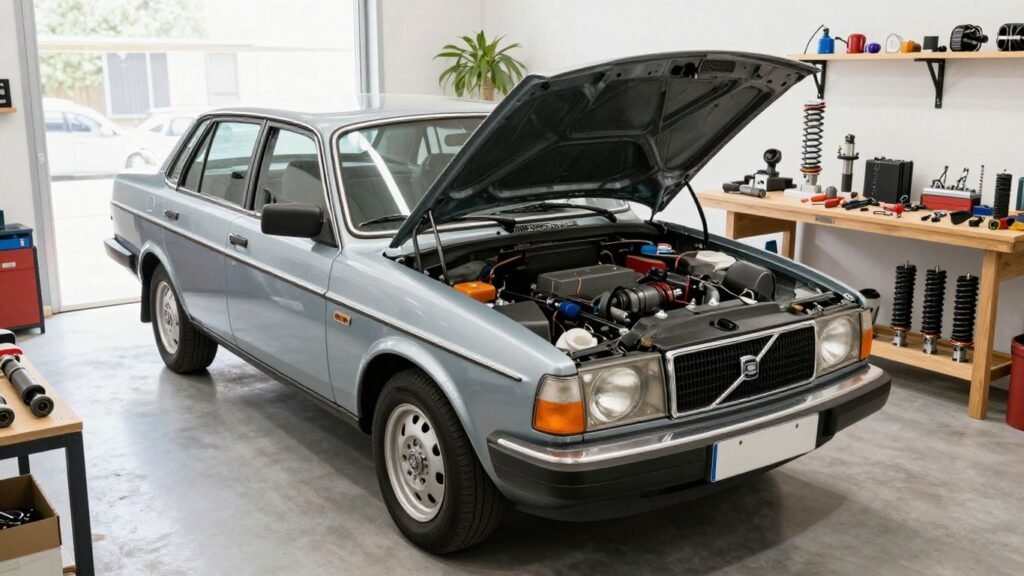
Key Takeaways
Finding the right Volvo 240 parts is mostly a matter of careful identification and patient comparison. A little documentation before ordering can prevent an expensive mismatch later.
- Confirm the model year, body style, engine, and drivetrain before buying.
- Separate routine maintenance from restoration or originality-focused work.
- Compare dimensions, connectors, mounting points, and part numbers rather than relying on appearance.
- Inspect used components closely and understand the seller’s return policy.
- Record every repair so future maintenance becomes easier.
Understanding your Volvo 240 parts needs
A Volvo 240 may look straightforward, but details changed across production years and configurations. The same broad component category can include several variations, especially when engines, transmissions, body styles, and market specifications differ. Start with the car in front of you, not a generic parts list, and build your search around its actual configuration.
Identify the model year and body style
Begin by recording the model year and whether the car is a sedan, wagon, or coupe. Body panels, trim, glass, weather seals, lighting, and interior pieces may vary even when the mechanical platform appears similar. A wagon’s rear hatch and cargo-area fittings, for example, require a different search than sedan trunk parts.
Photographs of the existing component are useful, but they should support—not replace—the vehicle details. Note visible fasteners, electrical connections, and any casting or stamped numbers before removing the old part.
Check the engine, transmission, and drivetrain
The engine family and transmission type can change the correct filter, belt, hose, sensor, clutch component, or mounting hardware. Also check whether the car has manual or automatic transmission and identify the rear axle or drivetrain configuration when ordering related components.
Do not assume that two cars with the same badge share every service part. A small difference in an accessory bracket or sensor connection can turn an apparently correct order into a return shipment.
Separate maintenance parts from restoration parts
Maintenance parts are items needed to keep the car safe and reliable: belts, filters, fluids, hoses, brake components, tires, and worn suspension pieces. Restoration parts may instead address originality, appearance, trim completeness, or period-correct finishes. Those goals can lead to different choices even when both approaches make the car usable.
Make the distinction early. It keeps a safety repair from being delayed while you search for a rare trim piece, and it stops cosmetic spending from absorbing the budget needed for mechanical work.
Use the vehicle identification number for confirmation
The vehicle identification number can help a supplier verify the build details and narrow down catalog choices. Keep it with the year, body style, engine information, and transmission details whenever you request a quote or ask about fitment. It is especially helpful when a listing covers several years or multiple body variants.
A useful record also includes the numbers printed on the old component. Those clues can reveal whether a previous owner installed a substitute, which matters when the car no longer matches its original specification.
The most important Volvo 240 parts categories
Organizing a project by system makes a large catalog easier to manage. Mechanical parts deserve attention first, while electrical, trim, and sealing items often become their own research projects. The right category is only the beginning; condition and exact fit still need to be checked.
Engine and cooling system components
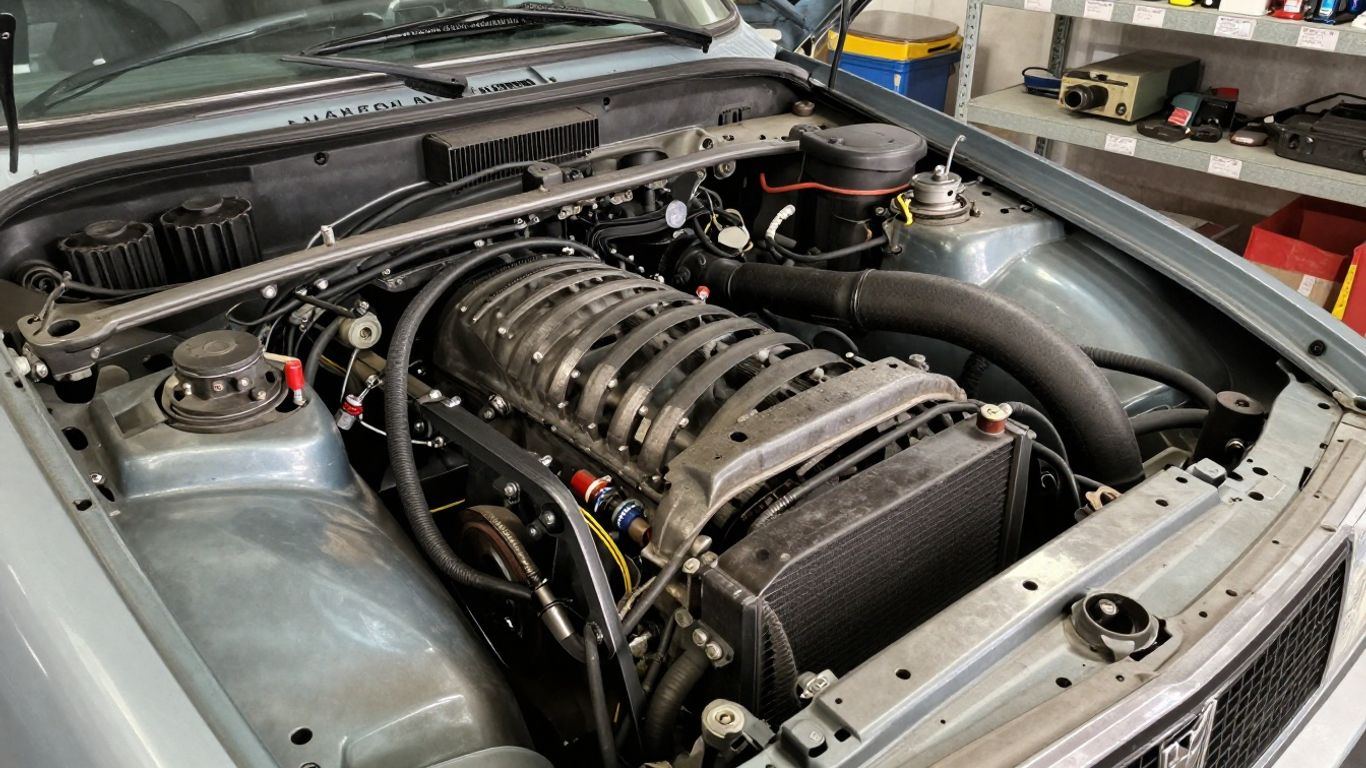
Inspect the cooling system as a group rather than replacing one visibly tired hose and ignoring the rest. Radiators, thermostats, water pumps, belts, hoses, clamps, and fan-related components all influence temperature control. Oil leaks, brittle wiring, and cracked vacuum lines also deserve attention during an engine-bay inspection.
When choosing a replacement, compare hose routing, outlet position, belt dimensions, and sensor locations. A clean-looking component can still be wrong if its connections do not match the car.
Suspension, steering, and brake parts
Suspension bushings, ball joints, tie-rod ends, shocks, springs, wheel bearings, brake pads, rotors, calipers, and hoses affect how the car stops and tracks. These parts should be assessed for play, corrosion, uneven wear, leaks, and seized hardware. A repair that restores one side but leaves its worn counterpart can create uneven handling.
Safety-related work also calls for a realistic assessment of tools and experience. If a fastener is badly corroded or a brake line is compromised, professional help may be wiser than forcing the job at home.
Electrical, lighting, and ignition components
Electrical troubleshooting becomes easier when you distinguish a failed component from a poor connection. Check grounds, fuse contacts, bulb sockets, connectors, and damaged insulation before buying a control unit or switch. Ignition components such as plugs, wires, coils, and related connections should be inspected alongside the symptoms they are meant to address.
Keep old connectors until the repair is proven. They can provide useful pin-position and wire-color references, particularly when a harness has been repaired in the past.
Interior, exterior, and weather-sealing parts
Trim, seats, carpets, door panels, lenses, bumpers, grilles, seals, and hatch hardware often determine whether a finished car feels complete. Rubber parts deserve special scrutiny because age can cause hardening, shrinkage, and cracking even when the item looks intact from a distance.
For broad catalog research, Classic Volvo Restoration lists Volvo 240/260 categories covering systems such as brakes, fuel and exhaust, electrical equipment, suspension, interior, engine, and body parts. Use category coverage as a starting point, then confirm the individual listing against your car.
How to find compatible Volvo 240 parts
Compatibility is more than matching a photograph. A correct search considers the production year, body style, engine, transmission, side of the vehicle, and the design of nearby components. When listings disagree, slow down and verify the evidence instead of choosing the cheapest result.
Compare original equipment and aftermarket options
Original equipment, OEM, and aftermarket parts can all be reasonable choices, depending on the job and the quality of the specific item. Compare materials, construction, warranty terms, supplier reputation, and installation experience. For a hidden service component, dependable function may matter more than an original logo; for visible trim, appearance and finish may be central.
Read the description for what is actually included. A listing may show a complete assembly while the price covers only one insert, seal, bracket, or hardware piece.
Confirm fitment across 240 model years
Model-year ranges in listings should be treated as a prompt for verification, not automatic proof. Check whether the part changed during a production run and whether the listing distinguishes sedan, wagon, turbo, or other variations. Compare the original part number where possible, then confirm the supplier’s fitment notes.
A well-organized source such as FCP Euro can help when researching different catalog classifications, including Genuine, OE, OEM, aftermarket, and performance replacement parts. The classification still needs to be considered alongside the particular part and vehicle configuration.
Understand interchangeability with Volvo 260, 740, and 940 models
Some components may be shared across related Volvo models, but interchangeability should never be assumed from a similar appearance. Compare the application range, connector style, dimensions, mounting arrangement, and operating requirements. A part that fits physically may still have the wrong calibration or connection.
The broader 200 Series history can provide useful context; the 240, 260, and their body variants were not identical in every system. Treat cross-model references as leads for further checking rather than a final answer.
Verify dimensions, connectors, and mounting points
Before ordering, measure the old part when practical and photograph the mounting area. Record hole spacing, hose diameter, thread size, connector shape, wire count, and the direction of any fittings. These details often settle a fitment question faster than a vague year range.
A compact comparison table can make the decision clearer when several listings appear similar:
| Check | What to compare | Why it matters |
|---|---|---|
| Part number | Original and replacement numbers | Reveals catalog cross-references |
| Dimensions | Length, diameter, spacing, and thread | Prevents physical mismatch |
| Connections | Plugs, terminals, hoses, and fittings | Prevents wiring or routing problems |
| Application | Year, body, engine, and transmission | Narrows the correct configuration |
After comparing these fields, contact the seller with the missing detail rather than guessing. Written confirmation can also make a return discussion easier if the supplied information proves inaccurate.
Where to buy Volvo 240 parts
Different sources suit different jobs. New service parts are often easiest to obtain from established retailers, while rare trim and original hardware may require used-parts networks. The best source is the one that can describe the item accurately and stand behind the transaction.
Volvo specialists and dedicated parts retailers
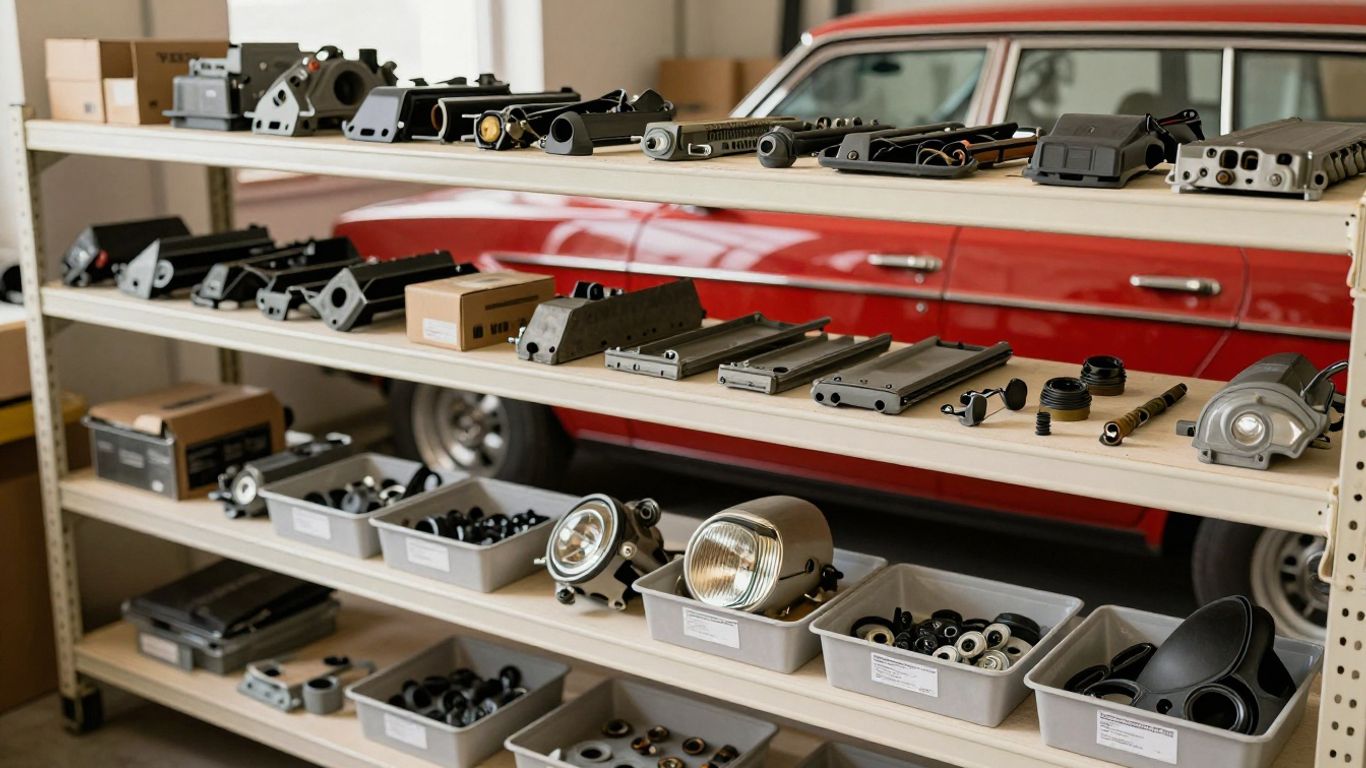
Specialists may understand the model’s common failure points and catalog variations better than a general supplier. They can be useful for seals, suspension components, cooling parts, electrical items, and reproduction pieces that need model-specific fitment. Ask whether the item is sold individually or as an assembly.
Wagonmeister is one example of a source describing replacement and upgrade parts for the 240 series, including precision-machined brake junctions and other tailored components. Treat its descriptions as product-specific information and still verify the part against your car.
Salvage yards and used-parts marketplaces
Salvage yards can be valuable for discontinued trim, brackets, interior pieces, glass, body panels, and unusual hardware. Search by casting number or precise description, and ask for photographs of mounting tabs, connector ends, and areas exposed to rust. A low price does not compensate for a damaged or incomplete part.
For pre-owned components, used Volvo 240 parts can be a useful search phrase when browsing a dedicated inventory that also covers related models. Confirm condition and completeness before treating any used listing as a solution.
Online auctions, forums, and owner communities
Owner communities often preserve practical knowledge about revisions, substitutions, and installation problems that a short catalog description will not cover. Forum photographs can help identify an unfamiliar bracket or trim piece, while auction histories may reveal realistic pricing. Still, community advice is not a substitute for checking your own vehicle.
Ask focused questions and save useful replies with the project records. That habit prevents the same fitment puzzle from being solved repeatedly months later.
Local suppliers for common service components
Local parts counters can be convenient for fluids, filters, bulbs, belts, clamps, and other common maintenance items. Bring the old component or its measurements when possible, and confirm whether the replacement is stocked in the required size. Same-day availability is helpful, but it should not override correct specification.
For unusual components, a specialist may provide better information than a generic lookup system. For ordinary service items, however, a local source can reduce downtime and shipping delays.
How to evaluate used and aftermarket parts
Price is only one part of value. A used component may be the best answer for a discontinued interior piece, while a new replacement is usually more sensible for a rubber seal or safety-related wear item. Evaluate the part’s role, condition, and likely service life together.
Inspect condition before purchasing
Look for cracks, corrosion, stripped threads, bent mounting points, heat damage, fluid contamination, and missing clips. Rubber should be checked for hardness and splits; electrical parts should be inspected for burnt terminals and damaged insulation. Ask for close-up photographs when the listing does not show these areas.
For mechanical assemblies, find out whether movement is smooth and whether there is measurable play. Surface dirt can be cleaned, but deep rust, distorted housings, and broken tabs often make a bargain uneconomical.
Check seller descriptions, photos, and return policies
A trustworthy listing identifies the application, condition, included hardware, and known defects. Compare the written description with the photographs and ask about anything that does not match. Before paying, read the return window, restocking terms, shipping responsibility, and exclusions for electrical or used items.
Keep copies of the listing and your messages. They create a simple record of what was promised and help avoid confusion if the delivered part differs from the description.
Balance price against durability and availability
A cheaper part can cost more if it fails early, needs modification, or delays the project. Consider whether the component is easy to replace, whether a better version is readily available, and whether labor will exceed the purchase-price difference. Fitment comes before savings when the part is difficult to install or central to safety.
A durable new part is often sensible for hidden wear items, while a carefully inspected original piece may be preferable for rare trim. The right choice depends on the car’s use and the restoration plan.
Recognize parts that should not be reused
Do not reuse components that are cracked, structurally bent, badly corroded, leaking, heat-damaged, or outside their safe wear limits. Brake hoses, belts, seals, fatigued springs, and compromised fasteners deserve particular caution. Some parts can be cleaned and tested; others are false economies.
When uncertain, compare the cost of replacement with the consequence of failure. Safety-critical parts should be judged conservatively, even on a car that is driven only occasionally.
Planning a Volvo 240 repair or restoration
A thoughtful plan keeps a repair from expanding into an uncontrolled rebuild. Start with safety and drivability, then decide which cosmetic or originality goals are realistic for the available time and money. Break the work into systems so progress remains visible.
Prioritize safety-critical repairs
Brakes, tires, steering, suspension, fuel leaks, lighting, and major structural corrosion belong at the front of the queue. A car should be stable, controllable, and free from obvious fire or fluid hazards before attention turns to cosmetic details. If the car has been stored for years, inspect every system rather than assuming low mileage means low risk.
Make a short “must do before driving” list and keep optional work separate. That distinction protects both the budget and the project’s momentum.
Build a parts list and project budget
List each component, quantity, condition, source, estimated cost, and status. Include related hardware, fluids, shipping, tools, and possible machine work. A small reserve for seized fasteners and damaged fittings is realistic on an older vehicle.
Group orders when it makes sense, but do not buy a large bundle before confirming the first part fits. The list should guide purchasing, not encourage speculative stockpiling.
Match replacement parts to the restoration goal
A daily driver may benefit from dependable modern replacements and practical upgrades, while a concours-oriented project may require original finishes, correct markings, or period-specific hardware. Neither approach is automatically better. The goal determines what compromises are acceptable.
Write down the standard you are pursuing before ordering visible parts. Otherwise, a series of individually reasonable purchases can leave the finished car visually inconsistent.
Store, label, and document parts during installation
Use small bags for fasteners and label them by location. Photograph hose routing, wire positions, shim placement, and bracket orientation before disassembly. Keep removed parts until the repair has been tested, since they may reveal a useful number or expose an unexpected difference.
A simple project folder—digital or paper—can hold receipts, measurements, photographs, and notes. That record becomes valuable when the car changes hands or a similar job returns later.
Tips for installing and maintaining replacement parts
Good parts still need a careful installation. Clean mating surfaces, compare the new component with the old one, and resist forcing anything that does not align. A pause to investigate is cheaper than repairing a damaged thread, connector, or seal.
Use the correct tools and service information
Use torque specifications, wiring diagrams, fluid requirements, and adjustment procedures appropriate to the car. Choose proper pullers, line tools, torque wrenches, and support equipment instead of improvising where damage or injury is possible. Read the instructions before removing the original assembly.
If a procedure depends on a measurement or adjustment, write the value down. This turns a vague repair into a sequence that can be checked.
Replace related hardware and wear items
A new component may need fresh seals, clips, locknuts, washers, bushings, or mounting hardware. Inspect neighboring parts while access is available, especially when corrosion or age has affected the assembly. Reusing a distorted fastener can undermine an otherwise sound repair.
Avoid replacing unrelated parts simply because the area is open, but do address items that are clearly degraded or required for correct installation. This is where the parts list earns its keep.
Test each repair before returning the car to service
Check for leaks, unusual noises, warning lights, loose fasteners, correct pedal feel, steering alignment, and proper electrical operation. Start with a stationary inspection, then use a cautious test drive in a controlled area. Recheck the work afterward because heat, vibration, and settling can reveal problems.
For brake, steering, fuel, and cooling repairs, do not treat a brief successful start as proof that the job is complete. Test the actual function and inspect it again.
A repair video can be useful for seeing the order of operations, but compare its vehicle configuration with yours. Visual guidance is most reliable when paired with service information and measurements.
Keep records for future maintenance and sourcing
Record the date, mileage, part number, supplier, symptoms, work performed, and any observations after testing. Save photographs of hidden routing and note which parts were original, aftermarket, or used. These details make future diagnosis quicker and improve the accuracy of your next order.
Over time, the record becomes a practical history of the car. It also helps distinguish a recurring fault from a one-time installation issue.
Conclusion
Finding, choosing, and installing Volvo 240 parts is far easier when each purchase begins with identification and ends with documentation. Verify the configuration, judge the part by its purpose and condition, and give safety-critical work priority. A measured approach may take a little longer at the start, but it usually saves money, frustration, and repeat repairs.
Frequently Asked Questions
Which Volvo 240 parts should I buy first?
Start with parts needed for safe operation, including tires, brakes, steering, suspension, lighting, fuel-system repairs, and cooling-system maintenance. Then address reliability items and cosmetic work.
How do I know whether a part fits my Volvo 240?
Confirm the model year, body style, engine, transmission, and drivetrain, then compare the part number, dimensions, connectors, and mounting points with the original component.
Are parts from other Volvo models interchangeable?
Some components may share applications, but interchangeability must be verified individually. Check the catalog range and physical and electrical specifications rather than relying on a similar appearance.
Are used parts a good choice for an older Volvo?
Used parts can be excellent for rare trim, brackets, interior pieces, and discontinued components when their condition is documented. Avoid parts with structural damage, severe corrosion, leaks, or unsafe wear.
Should I choose original equipment or aftermarket parts?
Choose according to the component’s function, quality, availability, cost, and your restoration goal. For difficult or safety-critical work, durability and confirmed fit are usually more important than the lowest price.
What information should I give a parts seller?
Provide the vehicle identification number, year, body style, engine, transmission, drivetrain details, original part number, photographs, and measurements when relevant.
How can I avoid ordering the wrong part?
Read the complete listing, check what is included, compare technical details, ask focused fitment questions, and review the return policy before purchasing. Keep the original part until the replacement has been installed and tested.