

Key Takeaways
A charging problem is not always caused by the alternator itself. Careful inspection, voltage testing, and exact part matching can prevent an unnecessary replacement.
- Inspect the belt, wiring, grounds, and battery before condemning the alternator.
- Compare resting and running voltage rather than relying only on dashboard symptoms.
- Match amperage, mounting points, pulley design, connector, and part number.
- Disconnect the battery before removal and protect the wiring during installation.
- Recheck charging performance after the repair and maintain the entire electrical system.
Understanding what a Volvo alternator does
An alternator supplies electrical power once the engine is running and replenishes energy used during starting. Its output must suit the vehicle or engine’s electrical demands, belt drive, and control system. Understanding that relationship makes diagnosis much less guesswork-driven.
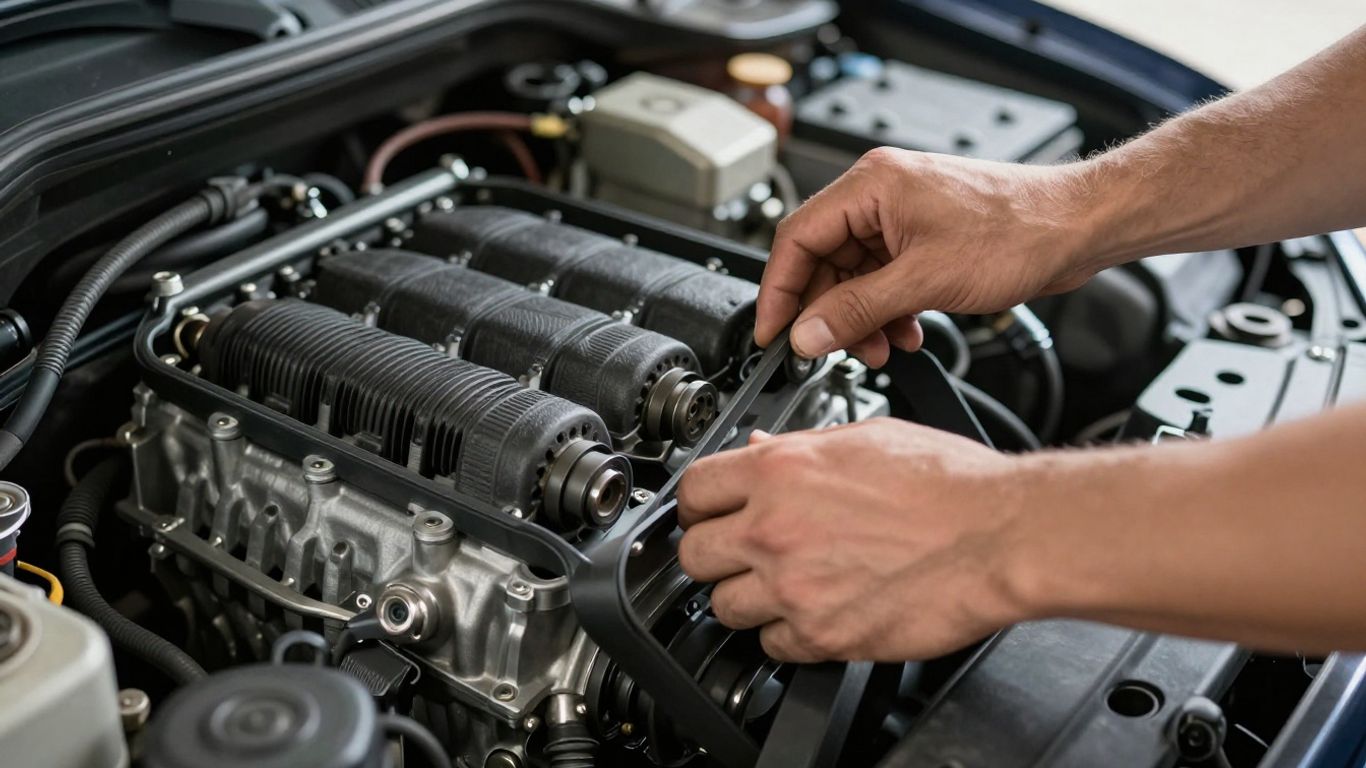
How the alternator charges the battery
The alternator converts mechanical energy from the engine into electrical energy. A regulator controls the charging output so the battery receives useful current without being continuously overcharged. The exact voltage can vary with temperature and system design, so a service manual remains the best reference for model-specific limits.
A healthy charging system supports the battery while the engine is running, but it does not instantly restore a deeply discharged battery. If the battery has been repeatedly drained, it may also need a proper charge and a separate condition test.
The relationship between the alternator, battery, and starter
These three components have different jobs. The starter draws a large current briefly to turn the engine, the battery stores energy for starting and supports electrical loads, and the alternator supplies power after the engine begins running. A weak battery can make a good alternator look bad, while a poor alternator can leave a healthy battery unable to recover.
That is why diagnosis should follow the current path instead of focusing on one component. Clean terminals, sound grounds, and secure cables matter just as much as the alternator itself.
Common Volvo alternator designs and output ratings
Alternators differ in amperage, regulator arrangement, pulley style, connector, and mounting geometry. A higher amp rating is not automatically the right choice; the replacement must work with the vehicle’s wiring and charging controls. Some applications use internal regulation, while others depend on external control hardware.
Owners comparing high-output alternator options should begin with the actual electrical demand and the original unit’s specifications. Accessories that draw heavily at idle may justify a different output strategy, but fitment and heat management still come first.
Differences between automotive and marine Volvo Penta alternators
Marine installations deserve extra caution because moisture, confined engine spaces, and fuel vapors change the requirements around electrical components. The alternator must be approved and configured for the particular marine application, not simply selected because its voltage and amperage appear similar to an automotive unit.
For example, the linked ARCO Alternator is described for late-model marine engines as a 12-volt, 65-amp replacement with an internal regulator, a 2-inch mounting foot, and a multi-groove serpentine pulley. Those details illustrate why marine fitment should be checked by application and part number rather than by appearance alone.
Recognizing the signs of alternator trouble
Charging faults often develop gradually, although a failed belt or electrical connection can create an abrupt breakdown. Look for patterns rather than treating one symptom as conclusive proof. Battery age, cable condition, and parasitic drain can produce much the same experience.
Dashboard warning lights and electrical symptoms
A battery-shaped warning light usually indicates a charging-system concern, not necessarily a bad battery. It may appear because the alternator is not producing enough output, the belt is slipping, or the sensing and wiring circuits have a fault. Flickering lights or accessories that change brightness with engine speed deserve attention too.
Do not continue driving indefinitely with a warning light illuminated. Once the battery’s stored energy is exhausted, the engine may stop and restarting may not be possible.
Slow cranking, dim lights, and unstable accessories
Slow cranking after the vehicle has been driven should prompt a charging test, especially if headlights become dim at idle or the blower speed changes unexpectedly. These clues suggest low system voltage, but they do not identify the failed part by themselves.
A useful first pass is to record when the symptom occurs: cold start, hot idle, headlights on, or after sitting overnight. That timing can separate a load-related charging fault from a battery that is losing energy while parked.
Whining, grinding, and belt-related noises
A high-pitched whine may come from the alternator, a bearing, a pulley, or electrical load, while grinding often points toward mechanical wear. A chirp or squeal can indicate belt contamination, incorrect tension, pulley misalignment, or a failing tensioner. Listen carefully, but keep hands, clothing, and tools away from moving parts.
Visual inspection can reveal glazing, fraying, cracks, or a belt that wanders across the pulley. Noise alone is not enough to order a replacement alternator; confirm the source before removing anything.
When a dead battery points to another problem
A dead battery may be the result of an old battery, a light left on, a poor connection, or a parasitic draw. If the alternator charges correctly while running but the battery repeatedly goes flat after parking, investigate those other possibilities.
The battery should also be tested under load or with suitable electronic equipment. A battery can show a reasonable resting voltage and still lack the capacity to crank the engine reliably.
Diagnosing a Volvo alternator step by step
A sensible diagnosis moves from simple physical checks to electrical measurements. Start with the parts that can prevent charging even when the alternator is functional. Record readings and conditions so an intermittent fault does not disappear before it is understood.
Inspecting the belt, wiring, and connections
With the engine off, inspect the belt for damage, contamination, slack, and unusual tracking. Check the alternator’s main output cable, control plug, battery terminals, and engine-to-body ground straps for looseness or corrosion. Do not probe a live circuit carelessly, particularly around high-current terminals.
The earlier 240 alternator reference is a useful reminder that heat, load, belt drive, and mounting details can all affect charging performance on older applications. Treat any reference material as a starting point, then confirm the details for the vehicle in front of you.
Testing battery voltage with the engine off
Let the vehicle sit with the ignition off and measure voltage directly across the battery posts, not only across the cable clamps. A fully charged lead-acid battery is commonly near 12.6 volts at rest, though temperature, battery type, and recent charging can affect the reading. A low result should be corrected before judging the alternator.
Clean the posts and repeat the measurement if the result seems inconsistent. A meter reading can be misleading when a clamp is loose or heavily oxidized.
Measuring charging voltage with the engine running
Start the engine and measure at the battery again, first at idle and then with normal electrical loads switched on. The voltage should rise above the resting value and remain reasonably stable, but the correct range depends on the charging system and operating conditions. Compare the result with the manufacturer’s specifications rather than applying one universal number.
A simple record of resting voltage, idle voltage, loaded voltage, and engine temperature can make the fault easier to reproduce. It also gives a technician useful information if the vehicle needs further testing.
| Observation | Possible direction | Next check |
|---|---|---|
| Low voltage with engine off | Discharged or weak battery | Charge and test battery condition |
| No rise after starting | Belt, wiring, regulator, or alternator fault | Inspect drive and charging circuits |
| Voltage falls sharply under load | Weak output or high-resistance connection | Perform voltage-drop testing |
| Normal cold, low hot | Heat-related or intermittent fault | Repeat test at operating temperature |
The table is a guide to the next test, not a diagnosis by itself. A sound conclusion comes from combining the measurement with belt condition, connection quality, battery health, and the fault’s timing.
Checking voltage drop and intermittent faults
Voltage-drop testing checks how much electrical potential is lost across the positive and negative paths while current is flowing. Place the meter leads according to the circuit being tested and compare the result with the service information. Excessive drop can make a good alternator appear ineffective at the battery.
Intermittent faults require patience. Wiggle-test accessible connectors carefully, inspect grounds under load, and repeat measurements when the engine is hot or when the symptom normally appears. Avoid shorting the alternator’s output terminal to ground.
When professional electrical testing is necessary
Professional help is sensible when the readings conflict, the fault appears only intermittently, or the vehicle uses complicated control electronics. A shop can test output under load, evaluate ripple, check battery conductance, and inspect the complete circuit with the proper equipment.
Bring your test notes and describe exactly when the problem occurs. That information can shorten diagnosis and reduce the chance of replacing a serviceable part.
Choosing the correct Volvo alternator
Correct selection is more than matching a picture or choosing the largest advertised output. The unit must fit mechanically, communicate electrically, and deliver suitable performance for the application. Take photographs and record the old unit’s label before ordering.
Matching the alternator to the vehicle or engine
Begin with the vehicle identification number, engine, model year, and configuration. Marine owners should identify the exact engine application and installation environment. A unit that fits one engine family may have different brackets, pulley alignment, or wiring on a closely related application.
Keep the old alternator available until the replacement has been compared. The mounting ears, cable position, connector, and pulley alignment should all be checked before installation begins.
Comparing amperage and high-output options
Amperage describes the maximum current the alternator can provide under specified conditions; it does not mean that amount flows constantly. Consider lighting, audio, winches, refrigeration, auxiliary electronics, and other loads, especially at idle. A higher-output unit can also require suitable wiring, belt capacity, and heat management.
Choose capacity with the whole system in mind. Oversizing without checking the rest of the installation can create fitment or reliability problems rather than solving the original complaint.
Confirming mounting points, pulley design, and plug type
Compare the number and position of mounting points, pulley grooves, pulley diameter, offset, and connector shape. Even a small alignment error can damage the belt or create noise. The regulator and sensing arrangement must also match the vehicle’s wiring.
Do not force a connector or alter a bracket casually. If the plug, pulley, or mounting geometry differs, stop and verify the part before proceeding.
Evaluating new, remanufactured, and used units
A new unit offers a fresh assembly, while a remanufactured unit may be a practical option when its testing and warranty are clear. A used alternator can be less expensive, but its remaining brush, bearing, regulator, and output life may be unknown.
Ask what was tested, what is covered, and whether the unit is supplied with the correct pulley and regulator. Price matters, but the cost of repeated removal and belt damage matters too.
Verifying compatibility by part number
Use the number stamped or printed on the original unit as one reference, then confirm it against an authoritative parts catalog or service source. Cross-reference numbers can describe replacements, but they do not remove the need to check mounting and electrical details.
The same careful habit applies when comparing unrelated technical information, from a mortgage glossary to a financial habits guide: verify the terminology and context before acting. For this repair, the final authority is the application-specific parts information.
Replacing a Volvo alternator safely
Replacement is manageable on many vehicles, but the procedure varies with access, belt routing, and electrical architecture. Read the service instructions first and allow the engine to cool. If the alternator is difficult to reach or the belt drives other critical components, professional installation may be the safer choice.
Preparing the vehicle and disconnecting the battery
Park on a stable surface, switch off the ignition, remove the key, and keep loose clothing away from the work area. Disconnect the negative battery cable before removing high-current alternator wiring, following the vehicle’s instructions for preserving electronic settings. On marine equipment, also follow the vessel’s battery-isolation and ventilation procedures.
Take a photograph of belt routing and label connectors if their positions are not obvious. Never rely on memory when several cables look similar.
Removing the old alternator
Release belt tension using the correct tool, then remove the belt from the alternator pulley without prying against fragile components. Support the alternator as its mounting bolts come out, and keep track of spacers, sleeves, and hardware orientation.
Before discarding the old unit, compare it with the replacement. Differences in bracket width, pulley alignment, or connector position should be resolved now rather than after the belt is installed.
Installing and tensioning the replacement belt
Set the replacement alternator into its mounts and start all fasteners by hand. Route the belt exactly as shown in the service information, ensuring every rib sits fully in its pulley grooves. Apply the specified tension or use the automatic tensioner correctly; too little tension causes slip, while too much can damage bearings.
Rotate the assembly by hand where appropriate and inspect alignment before reconnecting the battery. A belt that walks sideways or feels uneven deserves another look.
Reconnecting wiring without damaging sensitive components
Reconnect the main output cable and control plug only after confirming their locations. Tighten the high-current terminal to the specified torque without twisting the stud, and protect the connection from accidental contact with the housing. Keep the battery disconnected until the wiring has been inspected.
Check that cables are supported, clear of the belt, and not stretched across sharp edges. A clean installation reduces both electrical resistance and mechanical damage.
Testing the charging system after installation
Reconnect the battery, start the engine, and check for warning lights, unusual noise, belt movement, and stable charging voltage. Test at idle and under a reasonable electrical load, then compare the readings with the relevant specifications. Recheck the belt after a short run if the service procedure calls for it.
A successful installation should address the original symptom without creating a new one. If voltage remains abnormal, return to circuit testing rather than assuming the replacement unit is defective.
Preventing future alternator problems
Alternators usually work as part of a larger system, so routine care should include the battery, cables, belt drive, and surrounding environment. Small defects are cheaper to correct before they become a no-start event. Keep service records, including voltage readings and belt replacement dates.
Maintaining the battery and ground connections
Keep battery terminals clean and tight, and inspect the negative cable, engine ground, and body ground for corrosion or looseness. A weak ground can produce voltage-drop symptoms and place extra demand on the charging circuit. Test the battery periodically, particularly before extreme temperatures or long periods of storage.
Do not coat dirty connections and call them protected. Clean the contact surfaces first, then use suitable protection after the connection is secure.
Protecting the alternator from heat, water, and contamination
Heat shortens the life of electrical and bearing components, while water, oil, and belt debris can contaminate the housing and pulley. Repair leaks promptly and make sure splash shields and air paths remain in place. Marine installations need particular care around moisture and engine-bay ventilation.
Avoid directing high-pressure water at the alternator. If contamination is present, identify its source instead of repeatedly cleaning the symptom.
Inspecting belts and pulleys during routine service
Examine the belt for cracks, glazing, fraying, and contamination whenever the vehicle is serviced. Spin or observe accessible pulleys for roughness, wobble, and alignment problems, while keeping the engine off for hands-on inspection. A worn tensioner or idler can damage a new alternator belt quickly.
Replace related components when the service information or inspection indicates they are no longer sound. The cheapest belt is not a bargain if it fails soon after the alternator repair.
Avoiding excessive electrical loads
Use electrical accessories within the system’s capacity and avoid adding high-draw equipment without reviewing wiring, fusing, and alternator output. Loads that are manageable while driving may strain the system at idle. If accessories are added, measure actual demand and plan the installation rather than relying on an advertised amp number.
For general vehicle-use decisions, even details such as a bumper sticker guide or a dolphin watching guide can remind us that environment and purpose affect equipment choices. The same principle applies here: match the electrical setup to how the vehicle is actually used.
Knowing when to schedule a charging-system inspection
Schedule an inspection when a warning light flickers, the battery repeatedly needs charging, lights pulse, or belt noise appears. It is also wise before a long trip, after a jump-start, or when adding substantial electrical equipment. Early testing can distinguish a battery issue from a charging or connection fault.
A tiffin service guide may belong to an entirely different kind of planning, but the practical lesson is familiar: confirm the details before committing to a recurring arrangement. For a charging system, that means checking the measured condition rather than waiting for a complete breakdown.
Conclusion
A dependable charging system starts with a complete diagnosis, not a guess based on one warning light or a dead battery. Inspect the belt and connections, compare voltage readings, verify the replacement by application and part number, and test the system again after installation. That method is slower than swapping parts at random, but it is far more likely to produce a lasting repair.
Frequently Asked Questions
How long does an alternator usually last?
Service life varies with heat, electrical load, belt condition, contamination, driving patterns, and component quality. Symptoms and test results are more useful than a fixed replacement interval.
Can a bad battery damage an alternator?
A weak or internally damaged battery can make the charging system work harder, particularly after repeated deep discharges. Test both components before replacing either one.
What voltage should a car battery show when the engine is off?
A fully charged conventional lead-acid battery often measures around 12.6 volts at rest, but temperature, battery type, and recent charging affect the reading. Use the vehicle’s specifications where available.
What voltage should I see with the engine running?
Running voltage should normally rise above the battery’s resting voltage, but the acceptable range depends on the vehicle, regulator, temperature, and operating mode. Compare your measurement with the manufacturer’s specification.
Can I drive with the battery warning light on?
Driving is risky because the vehicle may be operating only on stored battery energy. Turn off unnecessary loads and arrange diagnosis promptly in a safe location.
Is a higher-amperage alternator always better?
No. It must fit the mounting system, pulley, wiring, connector, regulator, and electrical demand. A larger rating without system compatibility can create new problems.
Should I replace the battery when I replace the alternator?
Not automatically. Test the battery independently, and replace it only if it fails a proper condition or load test, has sustained damage, or cannot hold a charge.