

Key Takeaways
A Volvo fuel pump problem can look like several other fuel-delivery or ignition faults, so diagnosis should come before replacement. A careful repair depends on safe fuel-system work, correct part matching, and a pressure check afterward.
- Confirm the symptoms before buying a replacement pump.
- Match the pump to the exact vehicle, engine, and model year.
- Relieve fuel pressure and control ignition sources before opening the system.
- Inspect the module, tank, wiring, filter, and relay rather than assuming the pump is at fault.
- Prime the system, check for leaks, and verify pressure after installation.
Understanding the Volvo fuel pump system
A Volvo fuel pump is part of a chain that moves fuel from the tank to the engine at the pressure and volume the fuel system requires. The pump itself may be healthy while a relay, wiring connection, filter, pressure regulator, or fuel-line restriction causes similar symptoms. Understanding the arrangement makes the later diagnosis more deliberate. It also helps explain why replacing a pump without testing can leave the original problem untouched.
What the fuel pump does
The pump draws fuel from the tank and sends it through the delivery system toward the engine. In a modern fuel-injected vehicle, that supply must remain consistent as engine demand changes. The engine control system can adjust injection timing and duration, but it cannot compensate indefinitely for a pump that cannot maintain adequate delivery.
A pump may still run while becoming weak. That is why a vehicle can start normally one day and then struggle under acceleration or at higher speeds. The useful question is not simply whether the pump makes a sound, but whether it supplies the required pressure and flow under the conditions where the symptom occurs.
Main components in the fuel delivery system
The fuel tank, pump module, strainer, filter, fuel lines, electrical circuit, pressure-control components, injectors, and engine computer all influence delivery. Depending on the vehicle, some of these parts are combined in a module while others are mounted separately. A poor electrical connection can reduce pump speed, and contamination can restrict the inlet even when the motor is still operating.
Before dismantling anything, identify which components are fitted to the specific vehicle. Wiring diagrams and service information are particularly useful because connector locations, access panels, pressure specifications, and testing procedures vary across Volvo models.
In-tank and external pump configurations
Many passenger vehicles use an electric pump mounted inside the fuel tank, often as part of a larger module that includes a sender and strainer. Some systems use an additional external pump or a different arrangement, especially in specialized applications. The location matters because it changes the access procedure and the type of replacement part required.
Do not identify a pump solely by its appearance. Two units can look similar but have different pressure, flow, electrical terminals, or mounting details. The vehicle identification number and the original part number provide a safer starting point than a generic online photograph.
How fuel pressure supports engine performance
Fuel pressure gives the injectors a stable supply from which they can meter fuel. If pressure falls when the throttle opens, the engine may hesitate, lose power, misfire, or stall even though it idles reasonably well. Excessive pressure can create a different set of mixture and drivability problems, so “more pressure” is not automatically better.
The correct specification comes from reliable service information for the exact engine. A pressure reading should be interpreted alongside flow, voltage at the pump, residual pressure after shutdown, and any relevant fault codes. Test before replacing parts is a sound rule for this system.
Signs of a failing Volvo fuel pump
Fuel-pump symptoms often develop gradually, although a pump can also stop suddenly. Pay attention to when the problem appears: during a cold start, after the vehicle warms up, under load, or after sitting for a while. A useful symptom record can save time because intermittent faults are easy to miss in a brief workshop inspection.
Hard starting and extended cranking
A vehicle that cranks longer than usual before starting may have inadequate pressure during startup. The cause could be a weak pump, a leaking check valve, a faulty relay, low voltage, or a fuel-pressure problem elsewhere. If cycling the ignition on and off several times makes starting easier, that suggests pressure may be taking too long to build, but it does not prove the pump is defective.
Record whether the issue occurs after the vehicle has been parked overnight, after a short hot soak, or in all conditions. The pattern can help a technician decide whether to check residual pressure, temperature-related electrical faults, or general pump output first.
Engine hesitation, stalling, or loss of power
A weak pump may provide enough fuel for idle and gentle driving but fall short when demand rises. Hesitation while climbing, surging at steady speed, stalling after acceleration, and loss of power under load are common reasons to test pressure and flow. The same complaints can also come from ignition faults, restricted exhaust flow, air-metering problems, or poor fuel quality.
If the engine restarts after cooling or after a short wait, an intermittent electrical connection or pump motor may be involved. Avoid continuing to drive a vehicle that repeatedly stalls in traffic; the safety risk is more immediate than the repair decision.
Whining or buzzing from the fuel tank
A faint, steady pump hum may be normal, but a new high-pitched whine, growl, or irregular buzzing deserves attention. Noise can increase when the pump inlet is restricted, the fuel level is very low, the tank contains contamination, or the pump motor is wearing. Sound alone cannot establish a failure, since vibration can also travel through the tank or body structure.
Listen briefly with the vehicle stationary and compare the sound with its previous behavior. A noise that changes sharply with fuel level or appears together with hard starting is more meaningful than a sound heard without any drivability change.
Symptoms that can resemble other fuel system problems
A clogged filter, failing relay, damaged wiring, injector fault, weak battery, and fuel-pressure regulator issue can all imitate a failing pump. Even a crankshaft-position fault can present as a no-start condition, so the pump should not become the automatic suspect. A useful overview of fuel pump failure symptoms can help organize observations, but measurement is still needed before parts are ordered.
Separate the symptom from the diagnosis. “The engine stalls under load” is an observation; “the pump is bad” is a conclusion that should follow electrical and fuel-system tests.
How to diagnose a Volvo fuel pump problem
Diagnosis works best as a sequence rather than a collection of guesses. Start with the complaint and basic visual checks, then move to codes, pressure, flow, and electrical supply. Use the exact specifications and test points for the vehicle instead of relying on a universal number.
Checking fault codes and dashboard warnings
Scan the vehicle for diagnostic trouble codes and note whether the codes are current, pending, or stored. A fuel-pressure or mixture-related code may support a fuel-delivery concern, but it rarely identifies the failed component by itself. Low system voltage and communication faults can also create misleading warnings.
Look at freeze-frame information when available. Engine speed, coolant temperature, load, and battery voltage at the time of the fault can reveal whether the problem occurred during cranking, warm operation, or heavy demand. Clear codes only after recording them and completing the initial inspection.
Measuring fuel pressure and flow
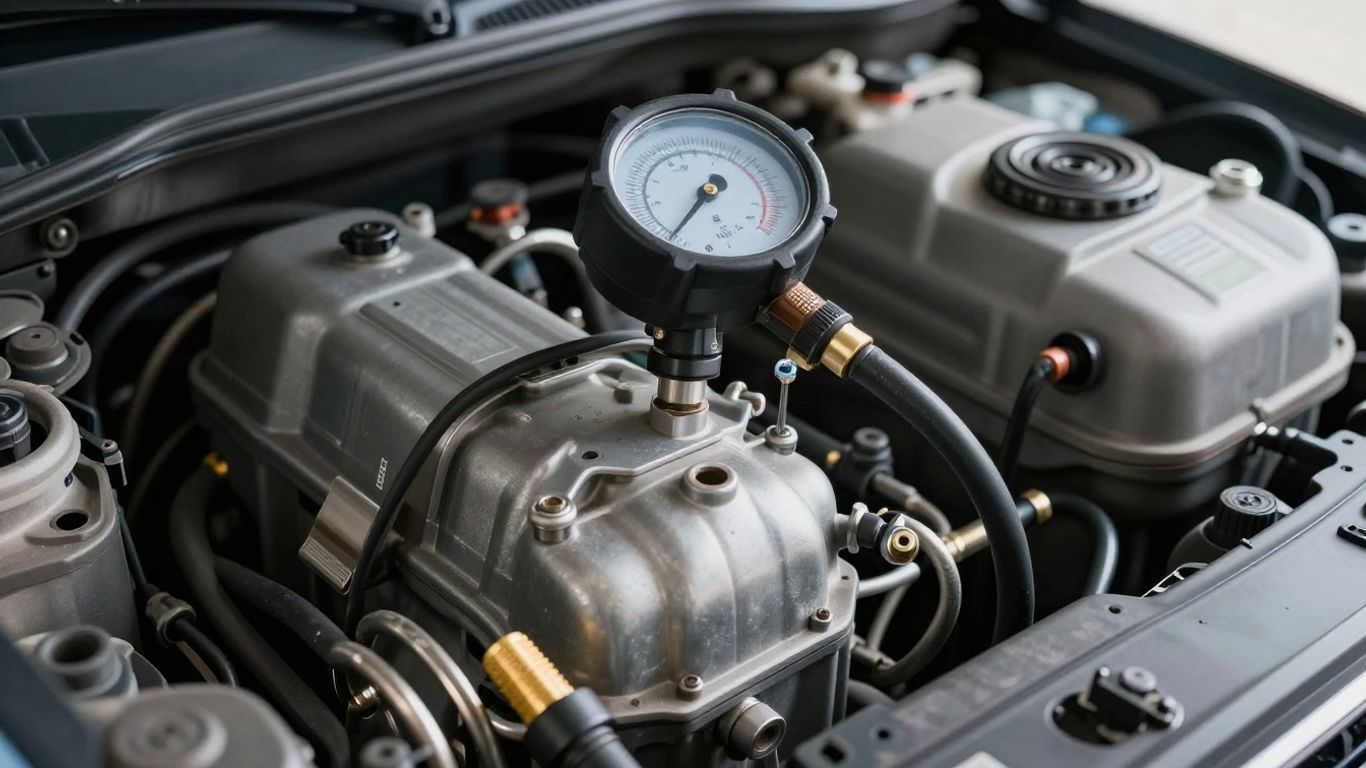
Use a suitable gauge and the manufacturer’s test procedure to measure pressure during key-on, cranking, idle, and load conditions where applicable. A pressure reading that looks acceptable at idle may drop when the engine needs more fuel. Flow testing adds another piece of evidence because pressure alone does not show how much fuel the pump can move.
The following comparison helps keep the readings in context rather than treating one number as a complete diagnosis.
| Test condition | What it can reveal | Possible direction for diagnosis |
|---|---|---|
| Key-on pressure | Whether the system builds initial pressure | Pump, relay, check valve, or supply issue |
| Cranking pressure | Whether pressure rises during starting | Weak pump, low voltage, or pressure loss |
| Running pressure | Whether delivery remains stable | Pump output, regulator, or restriction |
| Flow test | Whether sufficient volume is delivered | Blocked strainer, filter, line, or worn pump |
After the table, compare the results with the service specification for that exact engine. A low reading should lead to further checks of voltage, ground, restrictions, and pressure control before the pump is condemned.
Testing the pump’s electrical supply
A pump needs adequate voltage and a sound ground while it is operating. Test at the pump connector under load, not only at an unplugged fuse or relay socket. A voltage drop in the wiring can make a good pump appear weak, while a loose terminal can create an intermittent no-start or stalling complaint.
Inspect the fuse, relay, connector pins, ground point, and harness near the tank. Look for heat discoloration, corrosion, stretched terminals, or signs that a previous repair disturbed the wiring. If the supply disappears when the fault occurs, the pump may be innocent.
Distinguishing pump failure from a clogged filter or faulty relay
A restricted filter or strainer can reduce flow and create pump noise. A faulty relay can interrupt operation completely or work inconsistently as it heats up. Compare pressure and flow with the electrical readings, then test the relay and inspect restrictions according to the vehicle’s service procedure.
A practical diagnostic sequence is useful when symptoms overlap:
- Verify the complaint and check for stored or pending codes.
- Confirm fuel level, battery condition, fuses, and visible wiring damage.
- Measure pump voltage and ground while the pump is commanded on.
- Test fuel pressure and flow against the engine-specific specification.
This sequence narrows the fault without treating every no-start condition as a pump replacement. It also reduces the chance of installing a new component into a circuit that still has a poor connection.
Choosing the correct Volvo fuel pump replacement
Once testing points to the pump, selection becomes a fitment and specification exercise. The right replacement must suit the vehicle and the way the module is built, not merely match a broad Volvo search result. Part-number checks, connector details, pressure, flow, and installation contents all deserve attention before purchase.
Matching the pump to the model year and engine
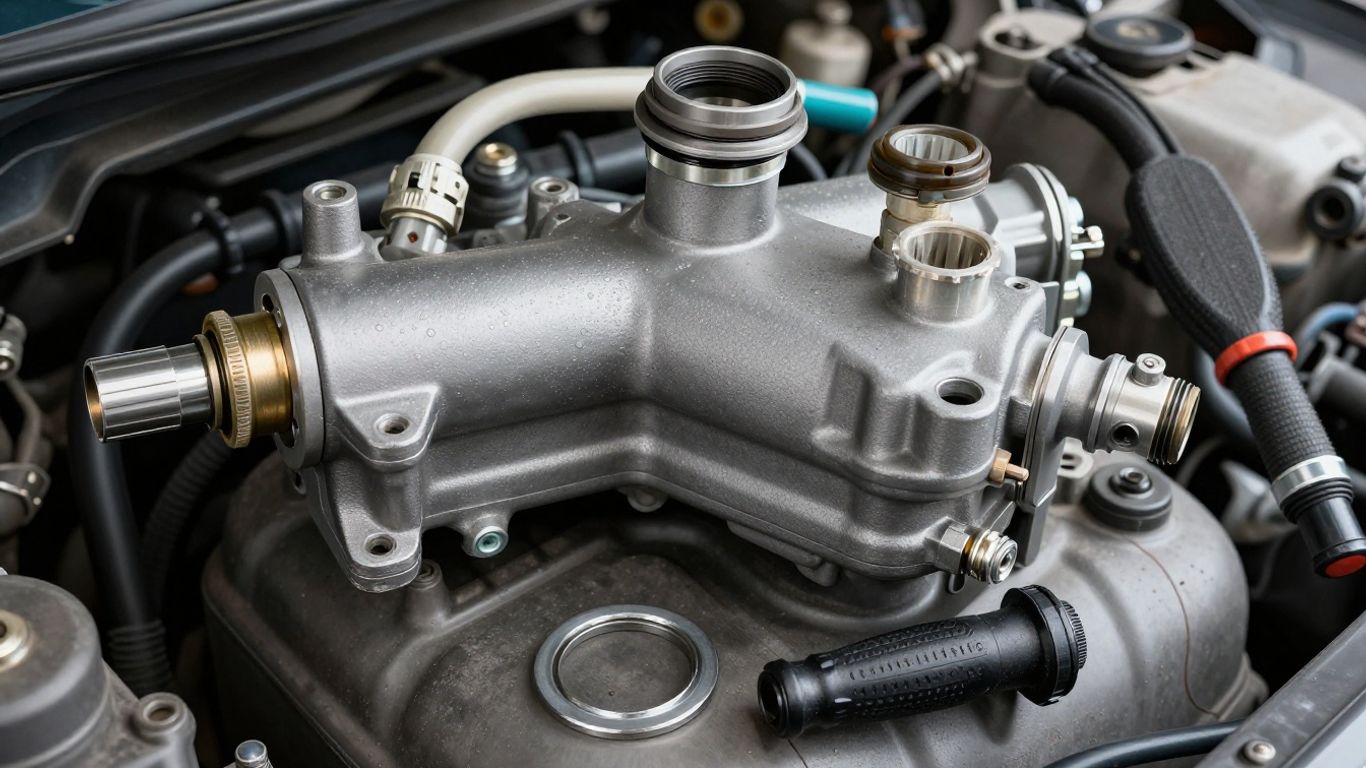
Confirm the model year, engine, fuel system, body style, and vehicle identification number. A change within one model generation can affect the pump module, sender, connector, or fuel-line arrangement. Compare the original unit’s label and physical mounting points with the proposed replacement.
For marine and outboard applications, QFS lists the HFP-A706 as a direct-fit fuel pump assembly for specified Volvo Penta engine families. That listing also says fitment should be checked against the specific model, which is a useful reminder not to treat a part number as universal.
Comparing OEM and aftermarket options
An original-equipment replacement may be preferred when exact integration, documentation, and consistent fit are priorities. An aftermarket unit can be appropriate when its specifications, materials, warranty, and fitment are clearly documented. The lowest price is not a meaningful comparison if the pump has the wrong output or requires unsuitable modifications.
For the Volvo Penta applications covered by its listing, QFS describes the HFP-A706 as a complete, drop-in assembly with OEM-level fuel flow and reliability. Those claims apply to the listed applications; they should not be extended to every Volvo vehicle or engine.
Verifying fuel pressure, flow rate, and connector compatibility
Check the replacement’s rated pressure and flow against the vehicle specification, then verify the connector, polarity, hose outlet, strainer position, locking ring, and module dimensions. A pump that physically fits may still be electrically or hydraulically unsuitable. Never assume that an adapter or altered connector is acceptable without confirming the manufacturer’s installation guidance.
Also check whether the package contains only the pump motor or the complete module. The labor, seals, sender components, and installation risks can differ substantially between those options. Written fitment information is more reliable than a retailer’s generic title.
Replacing related components when necessary
Inspect the strainer, tank seal, short submersible hose, clamps, wiring pigtail, filter, and pressure-control parts while the module is accessible. Replace damaged or contaminated items rather than installing a new pump into the same restriction. Do not replace healthy parts automatically; use the inspection and test results to decide.
For the specified Volvo Penta applications, QFS describes the HFP-A706 as a complete assembly, but the listing still calls for fitment verification. That distinction matters because a complete assembly may simplify installation while remaining unsuitable for a different engine family.
Preparing for Volvo fuel pump replacement
Fuel-system work combines flammable vapors, liquid fuel, electrical energy, and confined access. Preparation is therefore part of the repair, not an optional preface. Read the vehicle-specific procedure first, plan where removed fuel will go, and stop if the access area or tank condition creates an unsafe situation.
Safety steps before opening the fuel system
Work outdoors or in a well-ventilated area away from flames, heaters, sparks, and smoking materials. Keep a suitable fire extinguisher nearby, wear eye protection and fuel-resistant gloves, and disconnect the battery only as directed by the service procedure. Avoid creating static discharge around the tank and never use an incandescent work light near fuel vapors.
Keep the tank as low as practical without compromising safe vehicle operation or lifting support. Stabilize the vehicle on proper stands if access requires raising it. Fuel should be stored only in an approved container, never in an improvised bucket or open tray.
Tools and replacement parts to gather
The exact tools vary, but most jobs require basic hand tools, a suitable module-removal tool, a fuel-pressure gauge, a multimeter, clean containers, replacement seals, and the correct pump or module. A scan tool may be needed to record or clear codes. Have shop towels ready, but do not use materials that shed fibers into open fuel-system components.
Before starting, check that the new seal, retaining hardware, hose, and electrical connector match the original arrangement. Photographing the module and marking hose positions can prevent mistakes during reassembly.
Relieving fuel system pressure
Follow the vehicle’s specified pressure-relief method, which may involve removing a fuse or relay and running the engine until it stops, or using a designated service point. Even after pressure is relieved, fuel can remain in the rail and lines. Cover connections with a cloth and loosen them gradually while directing fuel into an approved container.
Do not guess at the procedure or rely on simply opening the fuel cap. That may reduce tank vapor pressure but does not necessarily remove pressure from the delivery circuit. Confirm that the pump cannot be energized unexpectedly before disconnecting its lines.
Accessing the fuel pump module
Many in-tank modules are reached through an access cover inside the vehicle, while others require work beneath the vehicle or removal of the tank. Clean the area around the cover before opening it so dirt cannot fall into the tank. Label electrical connectors and fuel lines before disconnecting them.
If the tank must be removed, support it securely and follow the correct lifting points. Do not force a retaining ring with a tool that can create sparks or damage the tank. The access route should leave enough room to lift the module out without bending the sender arm.
Replacing the Volvo fuel pump
The replacement itself is usually straightforward only after the diagnosis and preparation are complete. Keep the old assembly until the new one is installed and tested, since it can help confirm connector orientation and hose routing. Work slowly around the sender, seal, and tank opening; damage there can create a second fault.
Removing the old pump assembly
Disconnect the electrical connector and fuel lines using the correct release method for the vehicle. Remove the retaining ring or fasteners, then lift the module out while keeping it level enough to protect the float arm. Allow excess fuel to drain into an approved container rather than onto the vehicle or floor.
Inspect the old seal and note its position. Do not pry against the tank opening with a sharp tool, and do not force a stuck module before confirming that every retaining feature has been released.
Inspecting the fuel tank and wiring
Look inside the tank for rust, sediment, water, debris, or a strong varnish-like residue. Check the strainer and the short internal hose for blockage or deterioration. Examine the connector for melted plastic, loose terminals, corrosion, or darkened pins that could indicate excessive resistance.
A contaminated tank can damage the replacement pump quickly. If the wiring is heat-damaged or the fuel is visibly contaminated, address that condition before installing the new assembly. A clean mounting surface also helps the new seal seat evenly.
Installing the replacement pump
Transfer only the components that the replacement instructions require, taking care to preserve hose direction, clamp position, sender movement, and connector polarity. Install a new seal when specified and lubricate it only with an approved product. Lower the assembly without catching the float or bending the arm against the tank opening.
Secure the retaining ring or fasteners evenly and reconnect each line until its locking feature engages. Never substitute an ordinary hose for a fuel-rated submersible hose inside the tank. Confirm that the pump inlet is not pressed against the tank bottom or blocked by a misplaced strainer.
Reassembling the module and sealing the access area
Reconnect the electrical plug and inspect every fuel-line connection before closing the access area. Replace the access-cover gasket if required, then reinstall the cover, trim, shield, and any removed tank hardware. Keep the interior clean and dry so a later vapor smell can be traced accurately.
Do not rush to reinstall seats or underbody panels before the initial leak check. Leaving temporary access available makes it easier to correct a connector or seal problem without repeating the entire disassembly.
Testing the repair and preventing future problems
A new pump is not the end of the job. The system should be primed, inspected, measured, and driven carefully while the repair is still easy to revisit. Testing also provides a baseline for future diagnosis if a similar symptom returns.
Priming the fuel system after installation
Reconnect the battery as directed and cycle the ignition without cranking, allowing the pump to run through its normal prime sequence. Repeat the cycle only as permitted by the vehicle procedure, then inspect the area around the module and lines. If the pump does not run, stop and check the fuse, relay, connector, ground, and installation before repeated cranking.
Some systems may need a different priming method, especially after extensive fuel-line work. Follow the service information rather than assuming every vehicle primes in the same way.
Checking for leaks and confirming fuel pressure
Look and smell for leaks with the system pressurized, paying attention to the module seal, quick-connect fittings, short internal hose, and tank openings. Then confirm fuel pressure and, when necessary, flow against the correct specification. A dry exterior does not replace a pressure check because a pump can still be underperforming.
Never drive away while fuel odor is present. Shut the vehicle down, remove ignition sources, and correct the leak before continuing. A pressure result that is different from the pre-repair reading should be investigated even if the engine starts.
Clearing codes and verifying engine operation
Record the post-repair codes and clear them only after the original information has been saved. Start the engine and observe idle quality, warning lights, fuel trims where available, and any unusual pump noise. A road test should begin in a safe area and include the operating condition that originally produced the complaint.
Recheck for leaks after the road test and once the vehicle has cooled. If hard starting or hesitation remains, return to the test results rather than installing another part. The original diagnosis may have identified a symptom but missed a restricted filter, wiring fault, or separate engine problem.
Keeping the fuel system reliable over time
Use clean fuel from reputable sources and avoid routinely running the tank nearly empty, since the surrounding fuel helps cool an in-tank pump. Follow the maintenance schedule for any serviceable filter and respond promptly to new noise, hard starting, or loss of power. Keep the tank area and access cover dry so leaks are easier to spot.
A simple record of pressure readings, parts fitted, and symptoms can make future troubleshooting much faster. Careful diagnosis, clean installation, and early attention to changes in pump sound are more useful than replacing components on a schedule without evidence.
Conclusion
Diagnosing a Volvo fuel pump problem carefully is safer and usually less expensive than guessing. Confirm the symptom, test pressure, flow, and electrical supply, choose a precisely matched replacement, and finish with a leak check and road test. That process gives the repair a solid chance of solving the real fault rather than only replacing the most obvious suspect.
Frequently Asked Questions
What are the most common signs of a failing fuel pump?
Common signs include extended cranking, hard starting, hesitation under load, loss of power, stalling, misfires, and a new whining or buzzing sound near the tank. These symptoms can have other causes, so testing is necessary.
Can a vehicle start with a weak fuel pump?
Yes. A weak pump may build enough pressure for starting or idle but fail to maintain delivery during acceleration or higher engine demand. Pressure and flow testing can show this difference.
How long does a fuel pump replacement take?
Time varies with the vehicle, access method, tank level, corrosion, and whether the complete module or only the pump is replaced. An access panel generally reduces labor compared with removing the tank.
Should the fuel filter be replaced with the pump?
Replace the filter when it is restricted, contaminated, due by the maintenance schedule, or included in the approved repair procedure. It should not be changed automatically without considering its condition and the system design.
Is it safe to replace a fuel pump at home?
It can be done only with suitable tools, ventilation, fire precautions, safe vehicle support, and the correct service procedure. Anyone uncomfortable handling fuel vapors or removing a tank should use a qualified repair facility.
Why does a new fuel pump make noise?
A brief prime sound is normal on many systems, but a loud or irregular noise may indicate a restricted strainer, contaminated fuel, incorrect installation, low fuel level, wiring voltage drop, or a defective replacement.
What should be checked after installing a fuel pump?
Prime the system, inspect every connection for leaks, verify pressure and flow, scan for codes, confirm normal engine operation, and repeat the leak inspection after a cautious road test.