

Key Takeaways
A reliable water pump is central to steady engine temperature and effective coolant circulation. Correct part matching and careful installation matter just as much as the pump itself.
- Match the pump to the exact vehicle, engine, VIN, and part number.
- Treat leaks, overheating, belt-area noise, and coolant loss as warning signs.
- Replace seals and use the specified torque during installation.
- Align timing components carefully when the pump shares access with a belt.
- Bleed the system fully and monitor temperature after the repair.
Understanding the Volvo water pump and its role
A Volvo water pump moves coolant through the engine and cooling system, carrying heat away from the cylinder head and block. Although the component is simple in principle, its condition affects temperature control, belt reliability, and the life of surrounding parts. Understanding that relationship makes diagnosis and replacement less guesswork.
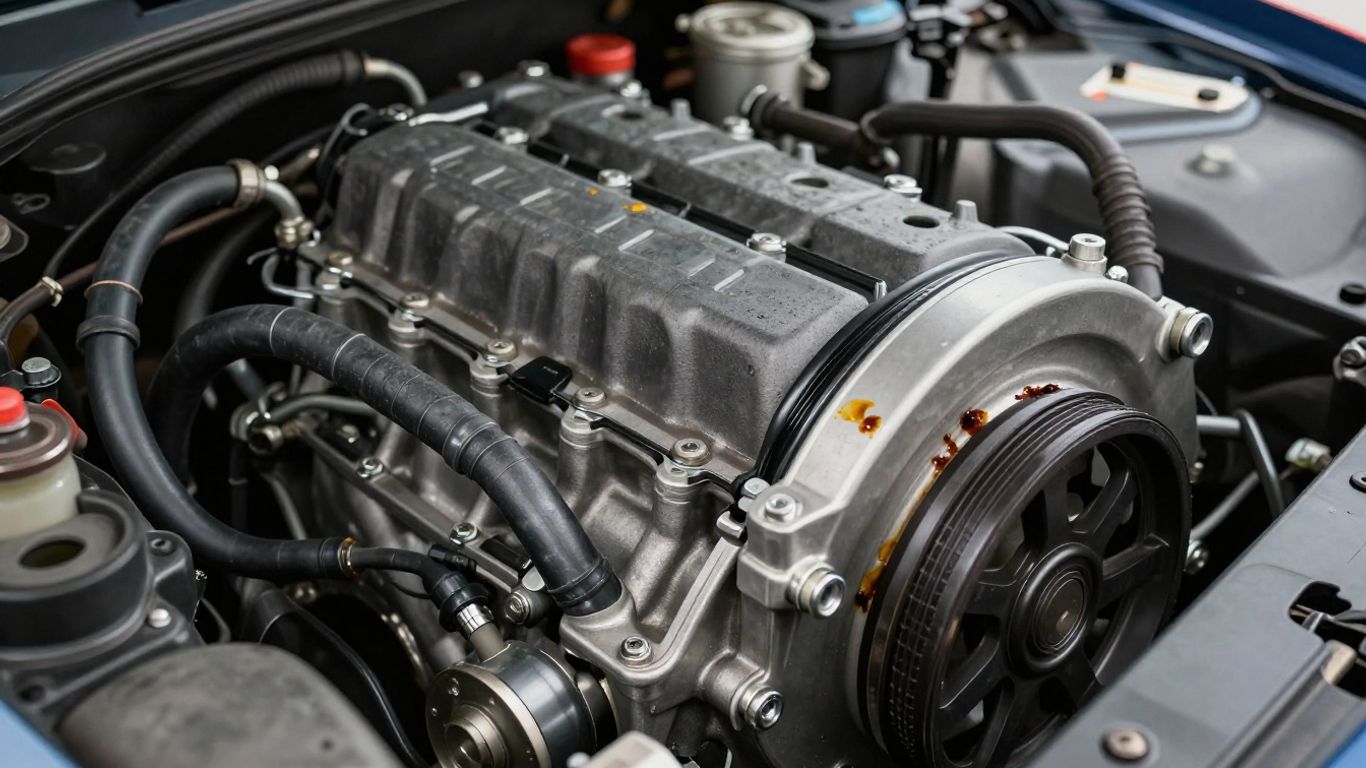
How the water pump circulates engine coolant
The pump uses an impeller to draw coolant from the lower part of the cooling circuit and push it through passages in the engine. The heated fluid then travels toward the radiator, where airflow removes heat before the coolant returns to the pump. A worn impeller, damaged bearing, or restricted passage can reduce that movement even when the reservoir appears full.
Mechanical versus electric water pumps
A mechanical pump is driven by an engine belt, so its speed generally follows engine speed. An electric pump uses a motor and can be controlled independently, but the correct design depends on the vehicle and engine application. Before ordering, confirm which arrangement your car uses rather than assuming that every water pump is belt-driven.
How the pump works with the thermostat and radiator
The thermostat regulates when coolant is allowed to flow through the radiator. While the engine warms, coolant follows a shorter internal route; once operating temperature is reached, the thermostat opens and the radiator becomes part of the circuit. The pump provides movement, the thermostat controls routing, and the radiator releases heat, so a fault in one can resemble a fault in another.
Symptoms of reduced coolant circulation
Poor circulation may show up as rising temperature, uneven cabin heat, or a temperature gauge that moves more than usual. These signs are not proof that the pump has failed, because air in the system, a sticking thermostat, or a blocked radiator can create similar behavior. Diagnosis should consider the entire cooling circuit.
Signs your Volvo water pump needs attention
Water pump problems often develop gradually, although a bearing or seal can fail quickly. Look for evidence rather than waiting for a severe overheating event. A cool engine is safer to inspect, and any suspected coolant leak deserves prompt attention because driving with low coolant can cause extensive damage.
Coolant leaks around the pump or engine
A damp area, dried coolant residue, or a small puddle near the pump may indicate a failed seal or gasket. The exact location can be difficult to identify because coolant travels across engine surfaces before dripping. Clean the area, let the engine cool, and inspect again rather than guessing from the location of the puddle alone.
Overheating and fluctuating temperature readings
An engine that runs hot in traffic but cools at speed may have an airflow or circulation problem. A gauge that rises and falls unexpectedly can also point to trapped air or an inconsistent coolant flow. Stop driving if the temperature enters the danger zone, since continued operation can warp components or damage the head gasket.
Unusual noises from the timing belt area
Grinding, rumbling, or a faint whining sound near a belt-driven pump can indicate bearing wear. Noise may change with engine speed and can be confused with an idler, tensioner, or belt problem. Because these parts may share the same area, diagnosis should be cautious and should not rely on sound alone.
Warning lights and coolant loss
A warning light combined with a falling coolant level is a reason to investigate immediately. Never open a hot cooling system, and do not treat repeated top-ups as a repair. Find the leak, check for signs of overheating, and have the system pressure-tested when the source is not obvious.
Choosing the right Volvo water pump
The right replacement is not simply the pump that looks closest to the old one. Model year, engine code, belt arrangement, housing design, and seal details can all affect fitment. Take time to compare the old part with the catalog information, and use a reputable water pump discussion only as supplementary reading rather than as a substitute for vehicle-specific data.
Matching the pump to your Volvo model and engine
Start with the model, model year, engine designation, and production details. Two vehicles that look alike may use different pump housings, pulley designs, or mounting patterns. If the pump is part of a scheduled belt service, verify whether the replacement is intended for that exact belt system.
Comparing original, OEM, and aftermarket parts
Original parts are supplied under the vehicle maker’s specification, while OEM parts are produced for the original-equipment supply chain. Aftermarket choices vary in materials, machining, seals, and quality control. Compare the warranty, manufacturer information, and included components instead of selecting on price alone.
Checking the pump gasket, seal, and included hardware
A pump can be correct while its supplied gasket or seal is wrong for the application. Inspect the sealing surface, compare the new seal with the removed one, and check whether bolts, washers, or an O-ring are included. A clean sealing surface is essential; old gasket material or corrosion can create a leak immediately after installation.
Confirming compatibility by VIN and part number
Use the VIN when a parts catalog supports it, then compare the listed part number with the number on the package or component. Check superseded numbers carefully, since a newer number may replace an older one without looking identical. If the catalog gives conflicting information, pause the job until the fitment is confirmed.
How to replace a Volvo water pump
Replacement difficulty varies considerably by engine layout. Some pumps are accessible from the front of the engine, while others require removal of belt covers and careful timing work. Consult the vehicle’s service information for torque values, belt marks, coolant type, and bleeding instructions before taking anything apart.
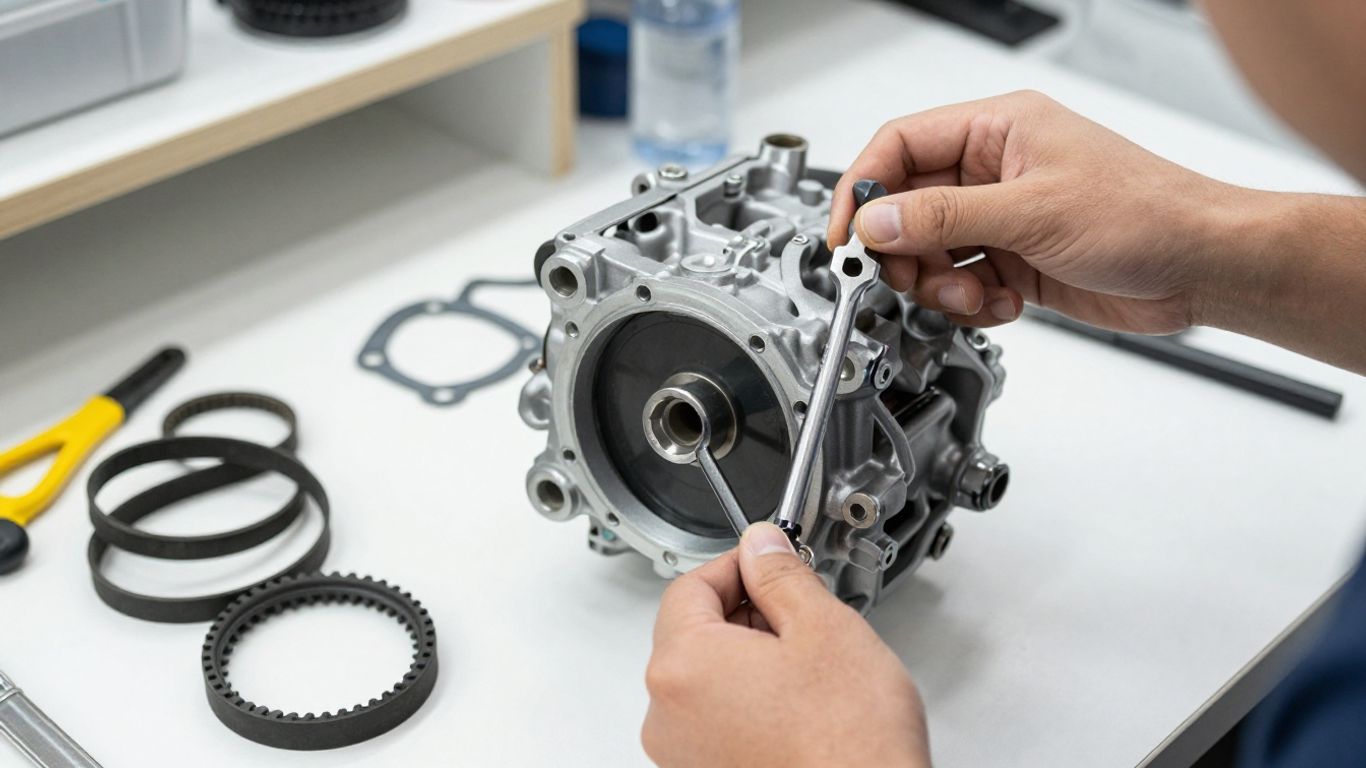
Preparing the vehicle, tools, and replacement parts
Park on a level surface, allow the engine to cool completely, and secure the vehicle before removing covers or lifting it. Gather drain pans, hand tools, suitable torque tools, replacement coolant, the new pump, and the correct gasket or seal. Photograph belt routing and component positions if the repair involves several covers.
Draining the coolant safely
Place a suitable container beneath the drain point and open the system only after it is cool. Drain the coolant in accordance with local disposal requirements, keeping it away from pets and children. If the coolant is dirty, rusty, or contaminated, plan to flush the system as directed rather than returning it after the repair.
Removing components that block access
Remove only the components required to reach the pump, keeping fasteners organized by location. On belt-driven designs, expose the timing marks and understand the belt path before releasing tension. Avoid forcing covers or brackets, since cracked plastic and bent mounting pieces can create new problems during reassembly.
Installing the pump and setting the correct belt tension
Clean the mating surface without gouging it, fit the new seal exactly as specified, and position the pump evenly against the engine. Tighten fasteners in the recommended sequence and use the service-manual torque value. If a timing belt is removed, align the marks before tensioning and rotate the engine by hand to recheck alignment.
Refilling and bleeding the cooling system
Refill with the specified coolant mixture and use the vehicle’s designated fill or bleed points. Run the engine according to the service procedure, monitor the level, and allow trapped air to escape. After the engine cools, recheck the level and inspect for leaks; a short road test should be followed by another inspection.
Common Volvo water pump replacement mistakes
Many failed repairs come from small installation errors rather than a defective pump. Rushing the cleaning, tightening, or bleeding stages can leave a leak or create an overheating complaint. A deliberate sequence is easier to follow when the repair is broken into a few checks.
Reusing old seals or contaminated coolant
Old seals harden and may not reseat after the pump is removed. Reusing dirty coolant can also carry debris through the new pump and radiator. Fit the supplied or specified new seal, and use fresh coolant or properly filtered reusable coolant only when the service information permits it.
Installing the pump with incorrect torque
Under-tightened fasteners can allow coolant to escape, while over-tightening can distort the housing, damage threads, or crush a gasket. Tighten clean, dry fasteners as specified and use a calibrated torque wrench where a value is provided. Do not substitute a general “tight enough” feel for the manufacturer’s procedure.
Misaligning the timing belt or pulley
If the pump is driven by or accessed through the timing system, even a small alignment error can affect engine timing. Marking parts before removal is helpful, but the original timing marks and tensioning procedure remain the authority. Rotate the engine manually and recheck the marks before starting it.
Overlooking related cooling system components
A new pump cannot correct a collapsed hose, restricted radiator, weak cap, or sticking thermostat. During the repair, inspect nearby components for cracking, corrosion, looseness, and contamination. Replacing a clearly worn companion part can prevent having to repeat the same labor soon afterward.
To keep the inspection practical, check these items before closing the job:
- Pump mounting surface and new gasket or seal
- Belt routing, timing marks, and tensioner position
- Hose condition, clamps, radiator, and pressure cap
- Coolant level, mixture, and visible contamination
These checks do not replace the service procedure, but they make common oversights easier to catch. They are especially useful when the pump shares access with other front-engine components.
Maintaining the cooling system after installation
A replacement pump should be treated as the start of a maintenance cycle, not the end of the job. Stable temperature, a dry pump area, and a steady coolant level are good early indicators that the repair is sound. Keep records of the installation date, coolant type, and any parts replaced so later inspections have a clear reference.
Choosing the correct coolant for your Volvo
Use the coolant specification listed for the vehicle and avoid mixing incompatible chemistries. The correct mixture provides freeze protection and corrosion protection, while excessive water or concentrate can reduce performance. If the existing coolant type is unknown, follow the recommended drain-and-flush procedure before refilling.
Inspecting hoses, belts, and the thermostat
Look for soft spots, swelling, cracking, frayed belt edges, and loose clamps. A thermostat that opens late can mimic a weak pump, while a worn belt or tensioner can threaten a belt-driven pump. Inspection is easiest when the engine is cool and the surrounding surfaces are clean.
Checking for leaks and stable operating temperature
Check the pump area, hose joints, radiator edges, and drain points after the first heat cycle. The coolant level may change slightly as air leaves the system, but repeated loss is not normal. The temperature should settle into its usual range without sudden rises, unexplained drops, or persistent warning messages.
A short follow-up inspection after driving can reveal seepage that was not visible while the engine was cold. Wipe away old residue first so new traces are easy to identify, and never inspect pressurized components with bare hands while hot.
Setting a practical inspection and replacement schedule
Inspect the cooling system at routine service intervals and before long trips, with extra attention after any overheating event. Replace the pump according to the vehicle’s maintenance guidance or when testing shows wear, leakage, or poor circulation. If the pump is tied to a timing-belt service, plan the work around that interval when appropriate.
Conclusion
Choosing and replacing a Volvo water pump is a matter of exact fitment, clean installation, correct belt work, and careful coolant management. Diagnose the wider cooling system, follow the vehicle-specific procedure, and verify the repair through leak and temperature checks before returning to normal driving.
Frequently Asked Questions
How long does a water pump usually last?
Service life varies with engine design, coolant condition, belt tension, and driving conditions. Follow the vehicle’s maintenance guidance and replace the pump sooner if it leaks, becomes noisy, or shows signs of poor circulation.
Can a failing water pump cause overheating?
Yes. A damaged impeller, worn bearing, or leaking seal can reduce coolant circulation and lead to overheating. Other faults, including a blocked radiator or failed thermostat, can cause similar symptoms, so diagnosis should cover the full system.
Is a water pump leak always easy to see?
No. Coolant may evaporate on a warm engine or run along a casting before reaching the ground. Dried residue, a pressure test, and inspection around the pump and nearby joints can help locate a slow leak.
Should the thermostat be replaced with the water pump?
Not automatically. Replacement depends on its condition, accessibility, service recommendations, and symptoms. It should at least be inspected because a thermostat problem can resemble reduced pump circulation.
Can I drive with a noisy water pump?
Driving with a suspected noisy pump is risky, especially if the pump is belt-driven or coolant is being lost. Stop if the engine overheats, and arrange inspection before continued driving causes belt or engine damage.
Why does the temperature rise after a pump replacement?
Trapped air, an incorrect coolant level, a leak, belt misalignment, or an unrelated thermostat or radiator fault can cause post-repair overheating. Let the engine cool and follow the specified bleeding and diagnostic procedure.
What should I do with old engine coolant?
Collect it in a sealed container and take it to an approved recycling or hazardous-waste facility. Never pour coolant onto the ground or into a drain, and keep it away from animals because even small amounts can be poisonous.