

Key Takeaways
A rear lamp is a safety component, and the right repair starts with identifying exactly what has failed. A few careful checks can help distinguish a replaceable bulb from a damaged assembly or an electrical problem.
- Rear lamp layouts and serviceable parts vary by model, year, and body style.
- Check each lighting function separately before choosing a repair.
- Moisture, damaged sockets, and wiring faults can mimic a failed bulb.
- Confirm the replacement part’s fitment, side, and lighting configuration.
- Test all rear lights after a repair and keep the lenses and seals in good condition.
Volvo tail light types and functions
Rear lighting combines several functions in a compact area, but the layout is not identical across vehicles. Volvo tail lights can differ with model, model year, body style, and market, so a familiar-looking lamp is not enough to confirm fitment. Knowing what each section does makes it easier to spot a failure and describe it accurately. For a visual look at an especially distinctive design, see these taillight portraits.
How rear lamps differ across Volvo models and model years
Lamp shape, mounting points, connectors, and bulb arrangements can change between generations and trim levels. Older vehicles may use different bulb holders or circuit boards from later designs; even parts that appear similar can have different wiring or fitment. A guide to older tail light variations can help illustrate why model year matters, but always verify details for the specific vehicle before ordering.
Brake lights, turn signals, reverse lights, and running lights
A rear lamp assembly may contain separate sections for braking, signaling a turn, reversing, and being visible when the headlights are on. Some functions may share a housing while remaining electrically distinct. If only one area fails, note which function it serves rather than describing the whole lamp as out. That simple distinction can narrow down whether the issue is a bulb, a connection, or a wider circuit problem.
A quick function-by-function comparison can help make an inspection more useful:
| Function | What it tells other drivers | What to check |
|---|---|---|
| Running light | The vehicle is visible from behind | Both sides illuminate with the lights switched on |
| Brake light | The vehicle is slowing or stopping | Each brake lamp responds when the pedal is pressed |
| Turn signal | The vehicle is changing direction | The correct side flashes at a steady rate |
| Reverse light | The vehicle is backing up | The reverse lamp illuminates when reverse is selected |
These observations describe what you can see, not necessarily the root cause. If a single function behaves differently on one side, record that detail before moving on to inspect components.
LED and incandescent tail light designs
Rear lamps may use incandescent bulbs, LEDs, or a combination of lighting technologies. A bulb-based design may allow a failed bulb to be replaced separately, while an LED design may require service to a larger component or assembly, depending on its construction. Do not assume the technology from the lamp’s appearance alone; check the vehicle information and replacement-part details. A correct match helps preserve the intended light output and fit.
Tail light assemblies versus replaceable bulbs
Some lamps have accessible bulbs and holders; others are serviced as a larger assembly or module. The practical difference is whether the failed part can be replaced independently without damaging the housing or its seals. For older assemblies, a complete listing may specify included pieces such as bulbs, holders, a circuit board, or a gasket. A 740/760 sedan lamp assembly listing, for example, identifies the side and model-year range, details that are useful to compare against the vehicle before purchasing.
Signs of a tail light problem
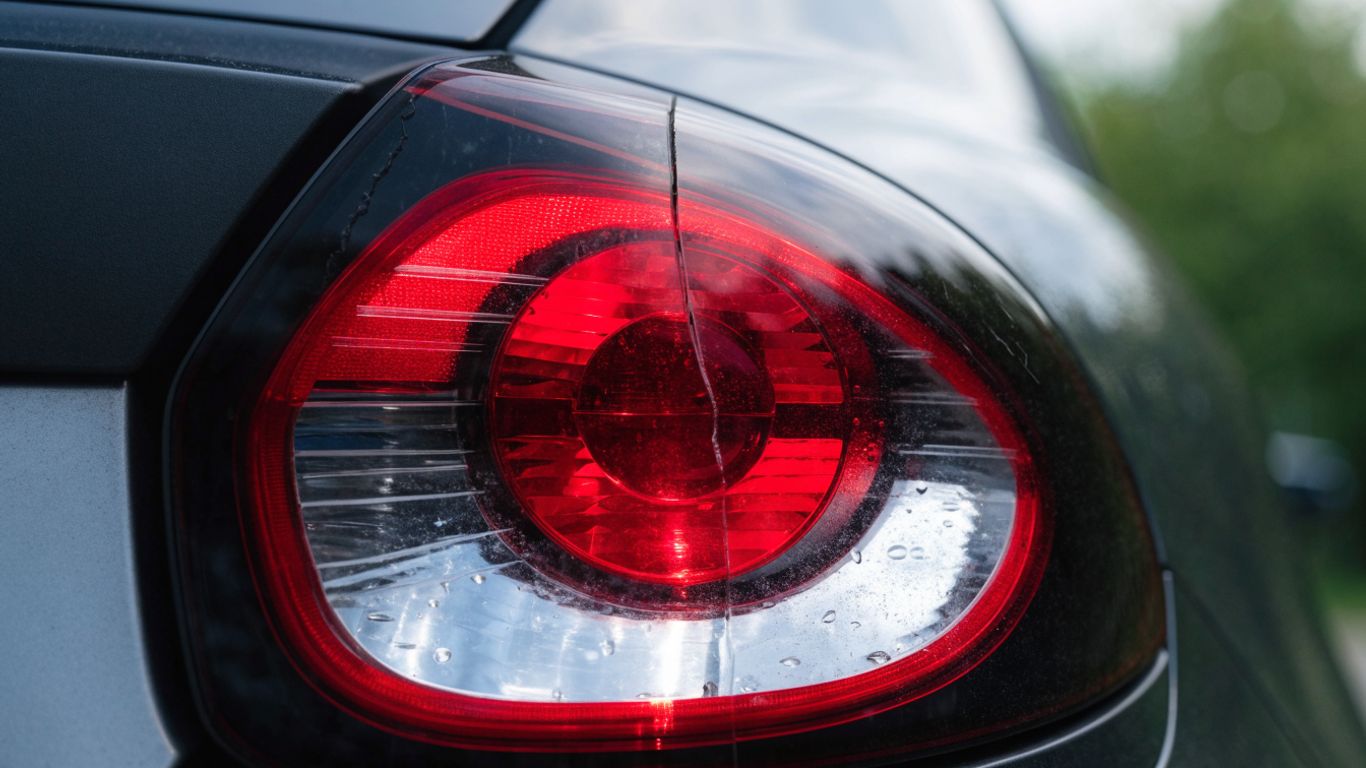
A rear-light fault may be obvious, like a dark lamp, or subtle, such as intermittent flickering. A brief walkaround with another person operating the controls can reveal which functions are affected. Inspect the lens as well as the light itself: a crack or signs of moisture may point to a problem beyond the bulb. Catching a small defect early can prevent confusion later when the symptoms change.
A bulb that is dim, flickering, or not working
A bulb that stays dark is the clearest symptom, but dimming or flickering also deserves attention. A loose bulb, worn socket, poor contact, or failing bulb can produce inconsistent illumination. Compare the left and right sides under the same conditions, and check the same lamp function more than once. A replacement bulb may solve the problem, but recurring flicker suggests checking the connection too.
Warning messages or dashboard indicators
Some vehicles display a warning when an exterior light is not working as expected. Treat the message as a prompt to inspect the lamps, not as a complete diagnosis: the indicator may not identify the exact failed component. Confirm which function is out with a visual check, then consult the vehicle’s manual for the meaning of the warning. If the message remains after a repair, further diagnosis may be needed.
Cracked lenses, moisture, or condensation
A lens that is cracked, loose, or visibly damaged can allow water or dirt into the lamp. A light haze that appears temporarily in changing temperatures may differ from persistent droplets or water pooling inside, so look for recurring moisture and signs of corrosion. If you are considering a tinted film, check whether it remains compliant and does not reduce the lamp’s visibility; a smoke-finish tint option is a style product, not a fix for a damaged lens.
Differences between a bulb failure and an electrical fault
A single failed bulb with otherwise normal lights often points toward the bulb itself, though the socket still needs inspection. Several functions failing at once, repeated failures, or symptoms that come and go may indicate a connection, fuse, ground, or wiring issue. These clues are not conclusive on their own. The most useful next step is to note the pattern and inspect the simplest accessible components before replacing an entire assembly.
How to diagnose tail light issues
Start with observation before removing parts. Check the rear lamps in a safe, stationary location and identify which side and functions are affected. Then inspect the bulb, holder, connectors, and visible wiring for obvious damage or corrosion. A clear symptom record helps keep troubleshooting focused and makes it easier to explain the issue if professional help is needed.
Check the lights and identify which functions have failed
Ask someone to operate the brake pedal, turn signals, running lights, and reverse lights while you watch from behind the vehicle. Keep the vehicle parked safely, and follow the owner’s manual when checking reverse lamps. Note whether the fault affects one side, both sides, or only one lighting function. Those details help separate a localized lamp problem from a fault shared by more than one circuit.
Inspect bulbs, sockets, and connectors
If the vehicle uses replaceable bulbs, switch the vehicle off and let hot components cool before opening the lamp area. Check that the bulb is seated correctly and look for a broken filament, discolored contacts, corrosion, or a loose connector. A tidy set of checks can prevent replacing a part that is still serviceable:
- Confirm the bulb type against the vehicle information.
- Look for heat discoloration or corrosion at the socket.
- Check that connectors are secure and undamaged.
- Refit accessible covers and seals without pinching them.
If a bulb or connector looks damaged, replace only parts confirmed to fit the lamp. If everything appears sound but the symptom persists, avoid repeatedly disturbing the wiring; move on to checking the fuse and circuit or ask a qualified technician.
Look for damaged wiring or a blown fuse
Inspect only wiring that is safely visible, looking for abrasion, pinching, damaged insulation, or a connector that has come loose. A blown fuse can interrupt a circuit, but replacing it without finding the reason it failed may lead to another failure. Use the owner’s manual to identify the correct fuse and procedure. Never substitute a higher-rated fuse or bridge a circuit.
When professional diagnostic equipment may be needed
A fault that affects multiple lamps, returns after a repair, or appears alongside other electrical symptoms may need more than a visual inspection. Some faults are difficult to trace without the right wiring information or diagnostic equipment. Stop if the work requires dismantling components you cannot safely access, or if you are unsure how to test a circuit. A qualified technician can assess the system without relying on guesswork.
Choosing the right Volvo tail light replacement
The safest starting point is the vehicle’s exact model, year, body style, and market, followed by the lamp’s side and configuration. A part that looks close may differ in its connector, mounting points, trim, or included components. Before ordering, compare the listing with the original lamp and confirm any stated fitment notes. That check is especially useful for older vehicles, where similar-looking assemblies may not interchange.
Confirm fitment by model, year, and body style
Use the vehicle identification details and the original part information where available, then compare them with the replacement listing. Model year and body style can affect both the shape and the electrical connections. For parts businesses and shoppers alike, accurate identification is the point at which price and availability become useful rather than distracting. Separate site guides cover ABA therapy costs, outdoor furniture in New Zealand, barcode scanning, value-based pricing, and re-engaging cold leads; each addresses a different purchasing or business topic, not vehicle fitment.
Match the assembly side and lighting configuration
Check whether the part is for the left or right side, and whether it matches the vehicle’s lighting arrangement and trim. Listings may differ in what they include, such as bulb holders or a gasket, so read the details rather than relying on the product photo alone. An assembly designed for a particular range may still have a year-specific note that affects compatibility. If anything is unclear, confirm it before removing the original lamp.
Compare OEM and aftermarket parts
A replacement should fit correctly, connect securely, and provide the required lighting functions. Compare the part’s stated fitment, included hardware, condition, and any warranty information; the label alone does not establish that it suits the vehicle. A used, genuine, or aftermarket part may be worth considering depending on availability and the condition of the original. Choose on confirmed compatibility and condition, not appearance alone.
Check regional requirements and roadworthiness
Lighting rules can differ by location, and a lamp that fits physically may not meet local requirements if its color, brightness, or visibility is altered. Make sure the replacement is intended for the vehicle’s market and that all required functions remain visible. Avoid modifications that obscure the lens or make signals hard to distinguish. If you are uncertain whether a repair or accessory is permitted, check local regulations before driving.
How to replace a Volvo tail light
The exact procedure depends on the lamp design and vehicle, so use the owner’s manual or model-specific service instructions for access points and fasteners. Some repairs involve changing one bulb; others require removing the full assembly. Work on a parked vehicle with the lights off, and take care not to force trim or connectors. A tail light replacement guide can provide a general sequence, but the vehicle’s own instructions take precedence.
Gather the correct parts and tools
Confirm whether the repair calls for a bulb, socket, seal, or complete assembly, and check the part against the vehicle before starting. Gather the appropriate hand tools and keep removed fasteners together. A clean work area reduces the chance of scratching the lens or losing a small clip. If the assembly is cracked or has damaged wiring, pause and make sure the replacement plan addresses the actual fault.
Access the lamp assembly safely
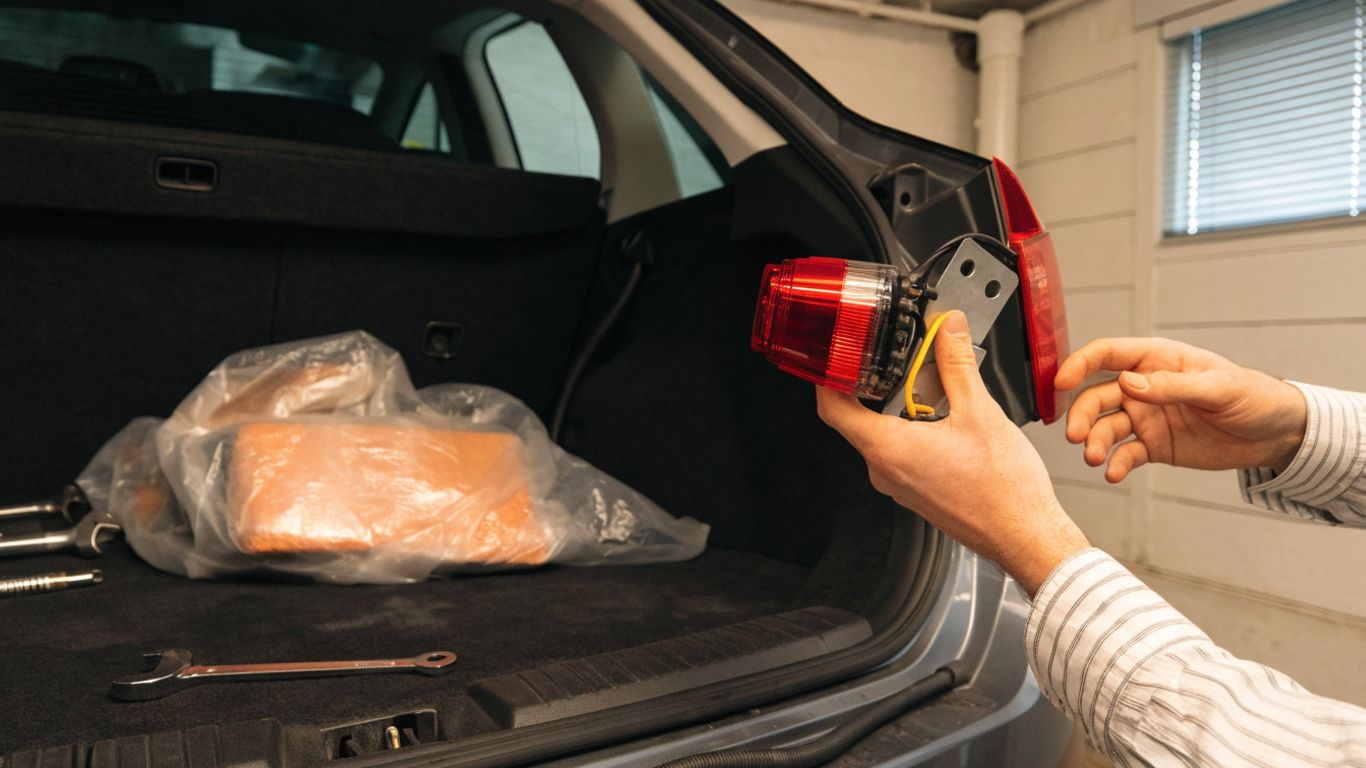
Park on a level surface, switch off the vehicle, and secure it before opening the boot or tailgate. Follow the manual’s instructions to reach the lamp; access may be through an interior trim panel or from the exterior. Release clips and fasteners carefully, since brittle trim can break. If the assembly does not move freely, check for another fastener instead of pulling harder.
Replace a bulb or complete assembly
For a replaceable bulb, note its position and orientation before removing it, then install the correct type without forcing it into the holder. For a complete assembly, disconnect the connector carefully, remove the specified fasteners, and transfer only the components the replacement instructions call for. Check that seals sit flat and that wiring is not trapped during reassembly. If the vehicle’s design or the task is unfamiliar, have a qualified technician complete the work.
Test all rear light functions before driving
With the lamp secured, test the running lights, brake lights, turn signals, and reverse lights where safe to do so. Ask another person to confirm the view from behind and compare both sides for consistent operation. Check that the lens and trim sit flush and that no warning remains. If a function still fails, do not assume the replacement part is defective; recheck the connector, bulb, fuse, and fitment before driving.
Tail light care and long-term reliability
Routine attention can help reveal small problems before they affect visibility. Clean lenses gently and check for cracks, loose trim, water entry, and worn connectors. After washing the vehicle or driving in heavy rain, look for persistent moisture inside the lamp. A quick check during regular maintenance is simple, and it can help catch a fault before it becomes harder to trace.
Keep lenses clean and inspect them for damage
Use a soft cloth and a suitable cleaning product to remove road film without scratching the lens. While cleaning, look for cracks, chips, fading, or a loose edge around the housing. Damage can reduce light output or create an entry point for moisture. If the lens is compromised, arrange an appropriate repair rather than relying on cleaning to solve the problem.
Prevent moisture from entering the assembly
Check that covers, seals, and lamp edges are seated properly after any work. Persistent droplets, standing water, or corrosion should be investigated rather than left to dry repeatedly. Avoid directing high-pressure water at gaps or damaged seals. When moisture keeps returning, the assembly or its sealing surface may need closer inspection.
Check lamp operation during routine maintenance
Make a brief walkaround part of regular vehicle checks, especially before a longer trip. Verify the lights with another person’s help or use a safe reflective surface when practical. Pay attention to a change in flash rate, brightness, or warning messages. A consistent pattern makes it easier to spot a new fault early.
Replace damaged seals and connectors promptly
A torn seal or loose connector can allow moisture in or interrupt electrical contact. Replace damaged parts with items that match the lamp and vehicle, and check that the wiring is not under strain after installation. If corrosion has spread beyond an accessible connector, seek professional assessment. Timely attention helps protect the repair and keeps the lamp functioning as intended.
Conclusion
A dependable rear-light repair begins with identifying the failed function, checking the simple causes, and confirming the replacement against the exact vehicle and lamp configuration. Careful installation and a full function test finish the job; if the fault points to wiring or a more complex electrical issue, professional diagnosis is the safer next step.
Frequently Asked Questions
Can I drive with one tail light out?
A failed rear light can reduce visibility and may violate local road rules. Repair it promptly, and avoid driving at night or in poor visibility until the required lights work correctly.
How do I know whether a bulb or the whole assembly needs replacing?
Check whether the lamp uses a separately replaceable bulb and inspect the bulb, socket, and connector. A cracked housing, damaged seal, or integrated lighting component may call for a larger repair.
Why does a tail light flicker?
Flickering can result from a loose bulb, worn socket, poor electrical contact, or wiring fault. If reseating a serviceable bulb does not resolve it, inspect the connection or seek help.
Is condensation inside a tail light normal?
A light, temporary haze may clear as conditions change, but persistent droplets, pooling water, or corrosion warrant inspection. Check the lens, housing, and seals for damage or a poor fit.
Do tail lights come in left and right versions?
Many assemblies are side-specific, and the two sides may not share the same shape or configuration. Confirm the side and fitment details before ordering.
Should I replace both rear lamps at once?
Not necessarily. Replace the failed component if the other side is undamaged and functions correctly, while checking that both sides remain consistent in operation and appearance.
What should I test after replacing a tail light?
Check the running lights, brake lights, turn signals, and reverse lights, as applicable. Confirm the assembly is secure, the lens is seated, and no warning remains.